- Homesteading
- Project Portfolio
- Pearls Place
- Beams and Floor Joists
Beams and Floor Joists
Finally; construction!
The construction phase begins with these two procedures. Once the saddles are in place in the sonotube footings, then the beams can be made and put into place. The saddles were put into the concrete before it dried but you can drill into the top and put them in later, if need be.
The beams are 8' long, and made up of four laminated 2x10" lumber, glued and air nailed together at several places along the length.
Although labor intensive, and totally dependent on accurate measuring, these are not that difficult to do, and as an added bonus, can be handled by two people. As our crew is by necessity small, this means Mike and Jacki could do this.
The Beams;
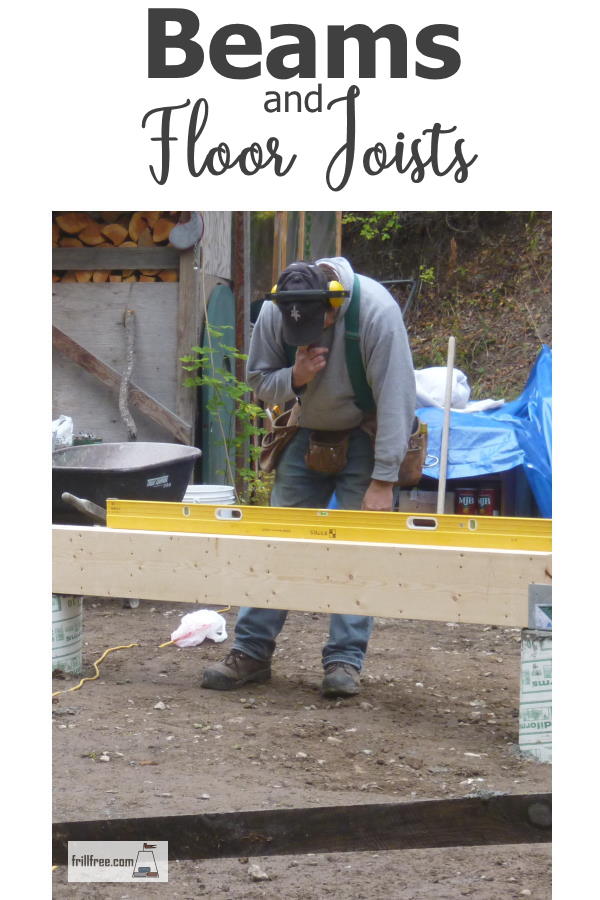
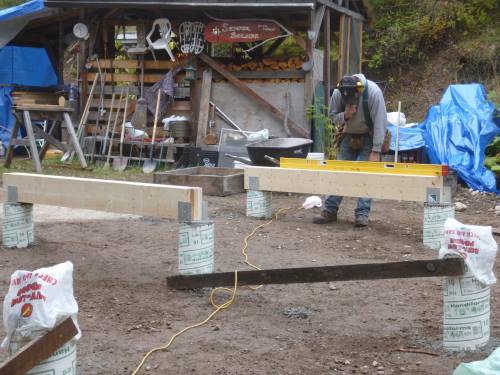 Hmm...it looks level...
Getting the foundation square, and the beams level is crucial.
It's easy to get impatient, but slow and steady is important with this stage.
Everything else rests on the beams, and if they're not completely level and plumb the house won't be either.
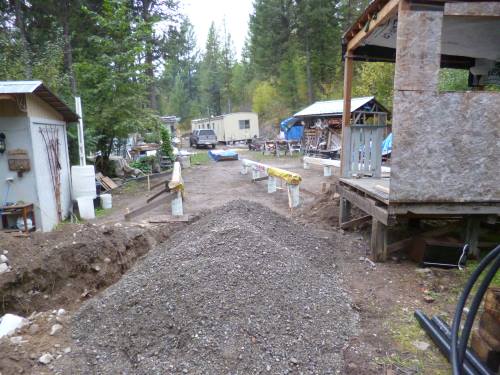 All done, and covered with plastic pieces; did I mention that the rain just wouldn't quit?
The Floor Joists;
Once all the beams were in place, level and screwed onto the saddles, the floor joists are installed; a helper was hired to give us a hand with this.
Each joist is 12' long, and overlaps at the center of the building.
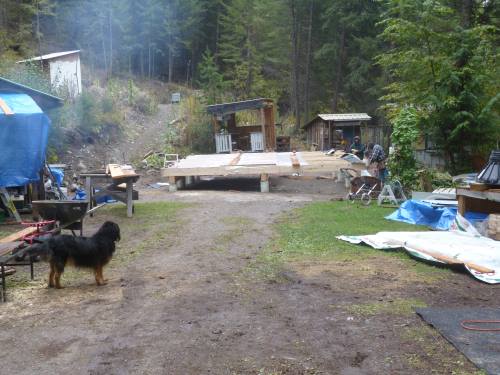 Floor joists can go quickly with a good helper...
Once the floor joists are in place, and all leveled and pinned onto the underlying beams, the rim joist is added to the ends of the joists, which are hopefully all even and level. If not, then they must be trimmed off to make them all the same at the edge.
In Hindsight (which is 20/20 vision)...
A tip that we only found out later; don't let someone (read; Husband) get too precious and cherry pick through the joist material.
In our project, the best (ie; straightest, least bowed etc) joists were all chosen to go on the first side, leaving the crappy and less perfect ones to go on the other site, making it impossible to get the floor completely level.
In hindsight, we would have just grabbed the next one in the pile, or alternated good and crappy so there wasn't this kind of issue.
The Floor:
The floor is laid on the top of the joists, and we used a product that I don't recommend - tongue and groove OSB - in this case, the tongue and the groove didn't match, so it was hard to get a good fit (read; lots of swearing).
It's also crucial that the OSB doesn't get wet, so there was a lot of dancing with blue tarps to try and maintain dryness, because, of course, as soon as we were committed to building, it started raining...and raining...
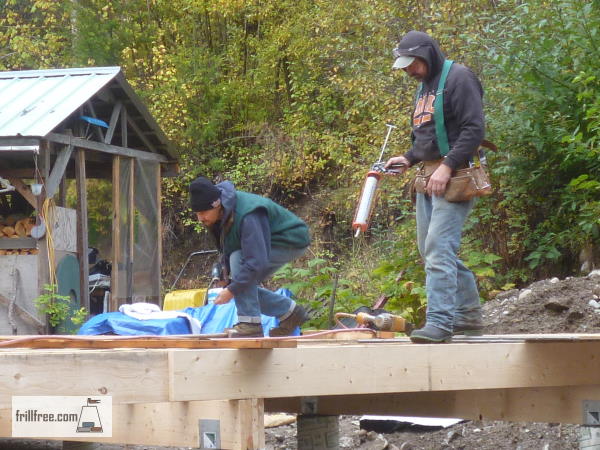 The floor - the base for all that follows...
The flooring was not only nailed or screwed down, but also glued with heavy duty construction adhesive. This prevents squeaky floors down the road.
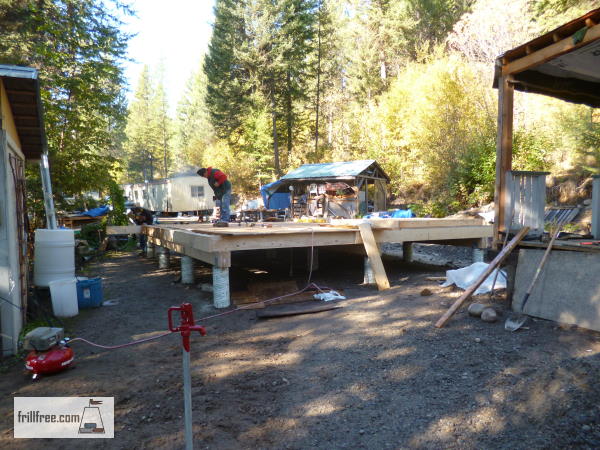 Almost done - and about time!
Then it's time for the walls.
