- Homesteading
- Homesteading Crafts
- Build Your Own Sawhorse
Build Your Own Sawhorse
Rustic Carpentry Project
Every job site needs a sawhorse or two; they are invaluable assets to keep wood up off the ground out of the mud, to make a stable work area (with the aid of a plank or two) or as scaffolding to climb on.
Like every homesteading project, the gist of this one is to use whatever lumber you have lying around as scrap.
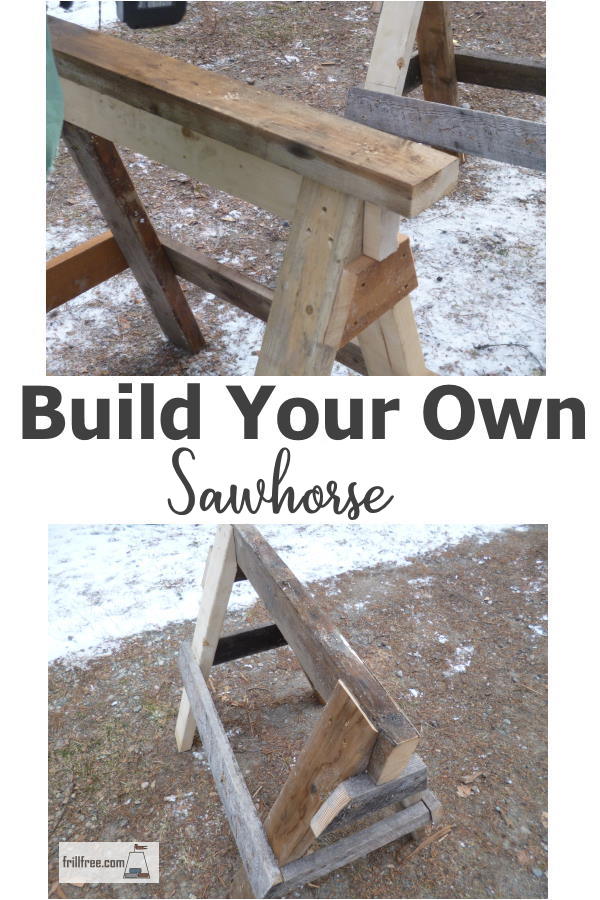
The sawhorse shown as the example is made from left over 2x4 lumber, a bit of scrap 1x6 and some deck screws.
The most difficult part of it is to cut the angled pieces with the correct angle. I recommend a chop saw or combination mitre saw to make this project much easier.
A jig to get all the pieces the same is also a good way to be more exact, but of course, we didn't take the time to build one for this.
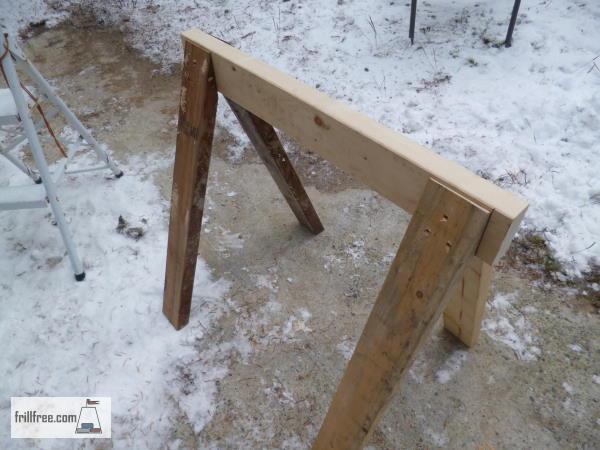
Four legs, equal length with a sharp angle (85 degrees or so) for the top, and a much shallower angle of around 22 degrees for the bottom of the leg are cut from the 2x4 lumber. The top 'rafter' piece is about 24-30" long, the legs about the same. You can vary the height of the sawhorse depending on the use for the finished product.
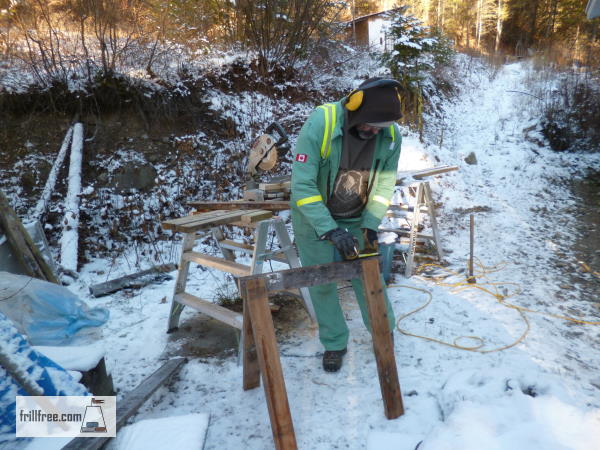
To use for a bench support where you'll be working at it, generally you want a higher bench. So make it the same as a kitchen counter, 30". If you'll be using it for a drill press or a bandsaw work table make it lower as these tools are usually raised up a bit.
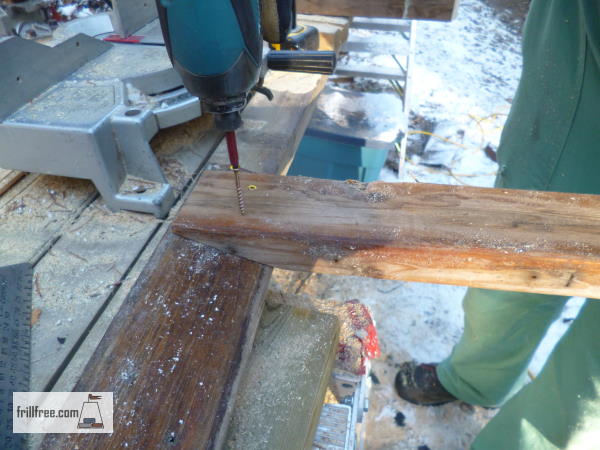
Angle the screws into the wood to give it more strength. Make sure to pre-drill the pilot holes so the wood doesn't split especially if you're reusing wood that is already weathered as it tends to split more easily.
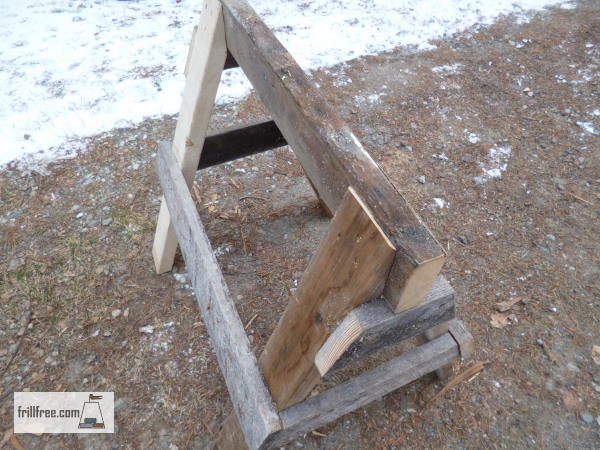
Add angled pieces for additional strength and to make a shelf underneath, if required. A board placed across the lower braces will give you more storage for tools, or more lumber.
Stop the presses! As if this project isn't simple enough, there is a development under way of an even easier design.
This one is so simple to prepare; seven even lengths of 2x4 or 2x6 dimension lumber, all 36" long.
Then they are put together in such a deceptively simple way, with three of them in the configuration of an 'I' beam, and then the other four are the legs. There is no need for tricky angles or any other cutting.
Pictures to follow, and a video if hubby cooperates!
