- Homesteading
- Composting
- Worm Composting
- Building a Worm Farm
Building a Worm Farm
DIY your very own vermicompost bin
I am a participant in the Amazon Services LLC Associates Program, an affiliate advertising program designed to provide a means for me to earn fees by linking to Amazon.com and affiliated sites. Other links on this site may lead to other affiliates that I'm associated with.
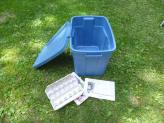
This is an easy project; you can find Rubbermaid brand tubs almost
anywhere, and lacking that, any other brand of tote that has a lid, and
handles to lift them with.
Earthworms are not picky. All they require is darkness, moisture (but not too much) and some organic matter.
They don't eat much, or make any noise - they're the perfect pet!
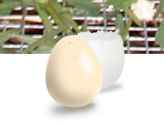
Once they are happy, they'll start to produce little lemon shaped eggs - that's when you'll know that you have the perfect environment for them.
The eggs hatch out earthworms that are perfectly adapted to what you're feeding them, and other factors such as temperature and moisture levels.
Some supplies you will need for your worm farm;
- Egg carton - kraft paper ones
- Finished or mature compost to start the herd
- Some redworms, Ensenia foetida is the redworm, also called manure worm, blood worm, or red wigglers.
- Shredded newspaper
- Water to soak the newspaper in (preferably rainwater)
- Dolomite Lime to alter the pH to less acid than most compost
- Coffee grounds, tea bags, small kitchen scraps
- Steer manure or chicken manure to get things really going
- Plastic bag to place over the top to keep moisture in
Here are the instructions once you've assembled your materials.
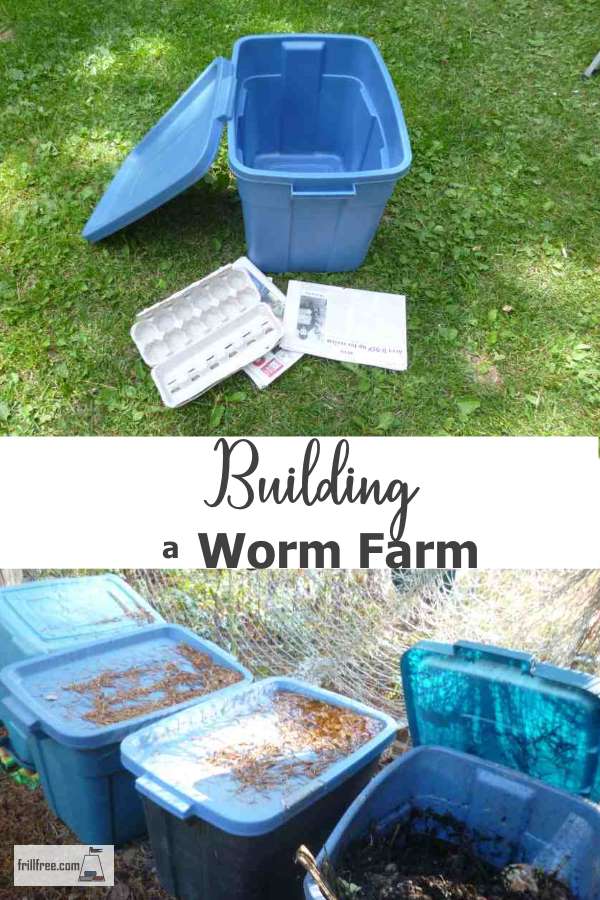
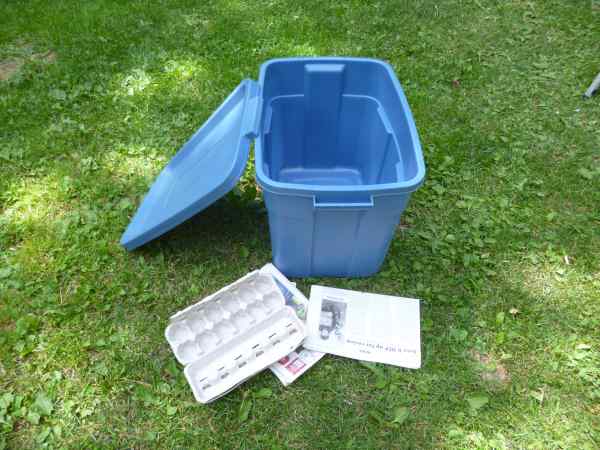 A Rubbermaid tub, with drain holes, some newspaper and a kraft or pulp type egg carton are the first things you'll need. Make sure to drill some drainage holes at this stage
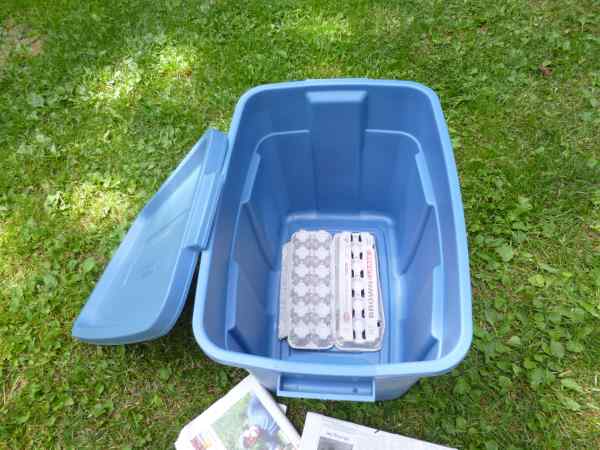 Put the egg carton upside down in the bottom of the tub for an air space. Eventually, the pulp will rot down, making a yummy treat for the worms...
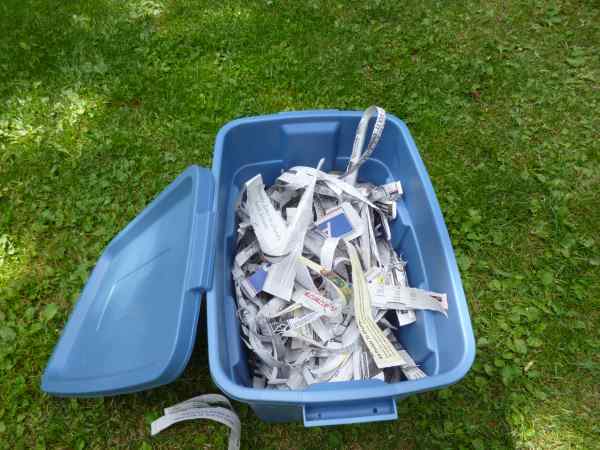 Shredded Newspaper; this is approximately two hometown newspapers or ten sheets, torn into strips...
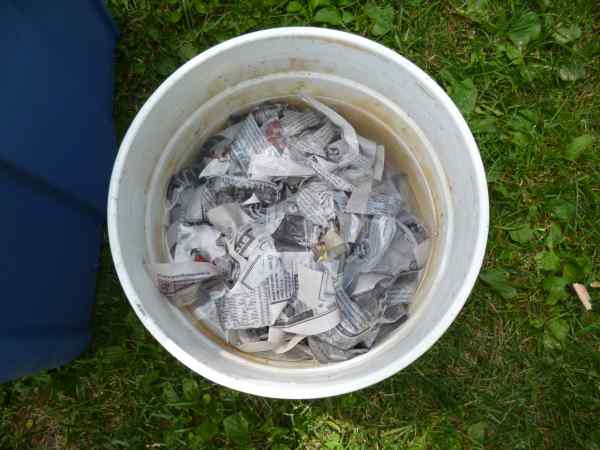 Wet the newspaper in rainwater...rainwater is best because it has no minerals or chemicals in it, and is neutral in pH. Worms are very sensitive to extremely acid conditions.
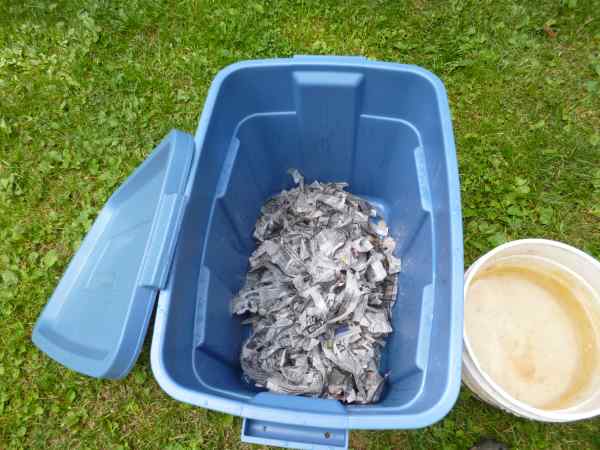 Wring out the newspaper...The newspaper should be damp but not dripping. Squeeze out the excess moisture, and spread it evenly on the bottom of the tub.
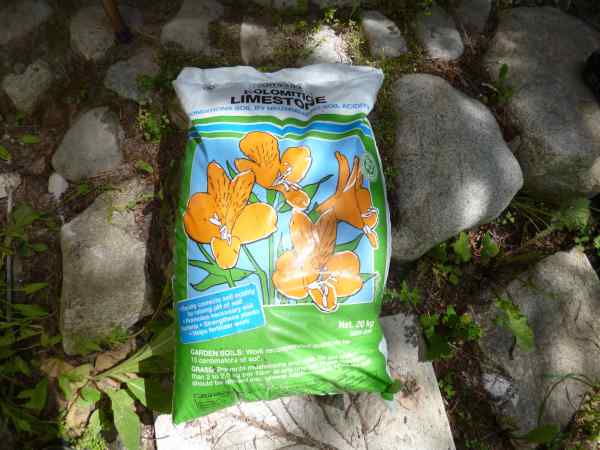 My secret ingredient; Dolomite Lime. Because I have a lot of coniferous trees around, the compost tends to be quite acid, and the dolomite lime counteracts that, making the worms feel much more comfortable - Dolomite lime is really cheap.
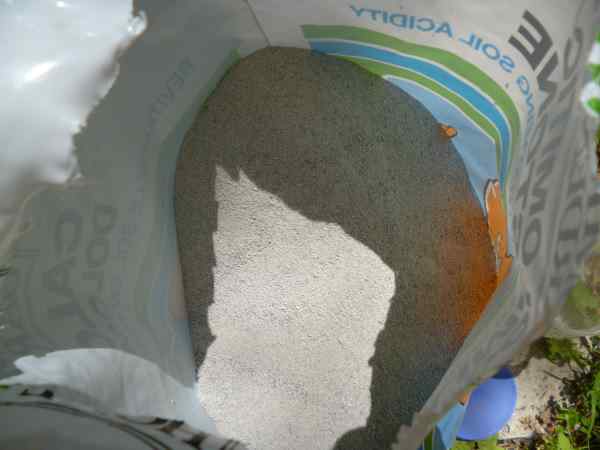 The texture is like fine sand...this stuff is heavy, and textured like a mixture of sand and silt.
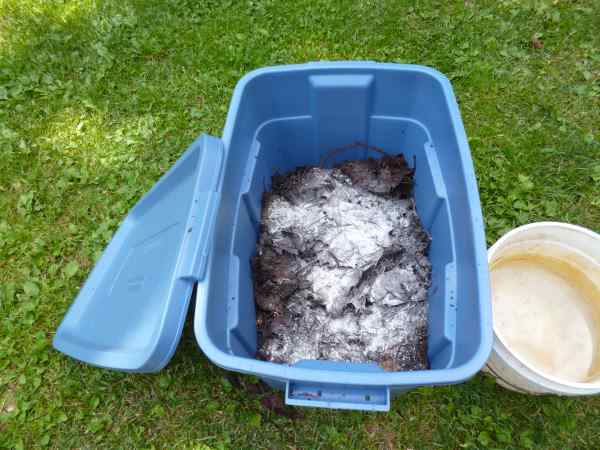 Sprinkle each layer with some Dolomite Lime...I've layered some partially finished compost, with lots of half composted leaves, some kitchen scraps and the dolomite lime.
Add worms either from another established bin, purchased, or lift up plastic bags from in your garden. The right worms are Ensenia foetida, the redworm, bloodworm or brandling.
There; now your worm farm is ready to go into a cool dark spot, like a basement, shed or root cellar.
Set it on some plastic, or another lid from the same sized tub to prevent damage to the floor from the 'worm tea' or liquid that will seep from the holes.
Check in a week or so, to see if you can see worms starting to move around. Generally, if you find cocoons (tiny lemon shaped egg cases) in the manure and finished compost, these will start to hatch out and you'll see really small pale baby worms.
Several hatch out from each egg case, increasing your herd in rapid speed.
They may look small now, but give them a month or two, and they'll really start to get to work.
Worm Tea can be collected in a jar or watering can, diluted with water and then used for fertilizing indoor plants.
It can be strong, so use one table spoon of tea, to a gallon (four liters) of water.
Don't overfeed your worm bin; once the worms start to produce more, you can split them up and build an other one, and feed twice as much kitchen scraps.
It's best to chop the scraps up small; this helps it to rot down more quickly, and then all the other members of the micro herd (not just the earth worms) can help.
This is the best type of Rubbermaid tub to use; they come in several sizes, choose the one that suits your situation best.
Sometimes you'll see a white mold forming on the surface of the compost. This is normal, and generally it's a good sign that the conditions are right for worms.
Bad signs include many worms trying to escape; a really sour smell, or dead worms. This indicates that there isn't enough air and you've got anaerobic conditions starting.
Stir up the compost and add a bit more dolomite lime, and leave the lid off for a bit. You can also add more dry materials, like dampened torn up newspapers, a small amount of sawdust, peat moss or shredded leaves.
The trick is to use moderation in all things, and be patient.
In time, your worms will reward you with lots of lovely nutrient rich worm castings to sprinkle on your houseplants, make compost tea, or put on the garden.
