- Homesteading
- Garden Designs
- Hay Bale Gardening
- Conditioning The Hay Bales
Conditioning the Bales
The Next Crucial Step for the Hay Bale Garden
I am a participant in the Amazon Services LLC Associates Program, an affiliate advertising program designed to provide a means for me to earn fees by linking to Amazon.com and affiliated sites. Other links on this site may lead to other affiliates that I'm associated with.
So now the bales are all in place, ready to go. But wait! They're not ready to plant in yet. They need to be 'conditioned' which means that they are encouraged to start composting inside.
Conditioning the bales is the next important step to starting your hay bale garden - they won't grow anything without this.
This conditioning needs to take place at least two to three weeks before you plan to get planting.
Watering and adding some high nitrogen fertilizer will get it started.
The more time and effort you spend on this the better your garden will be, and the more plants it will support.
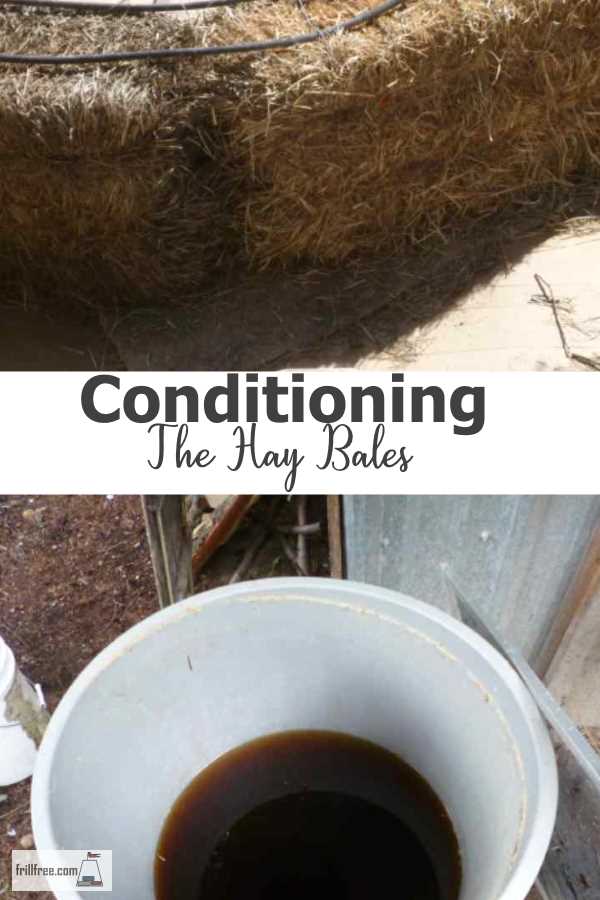
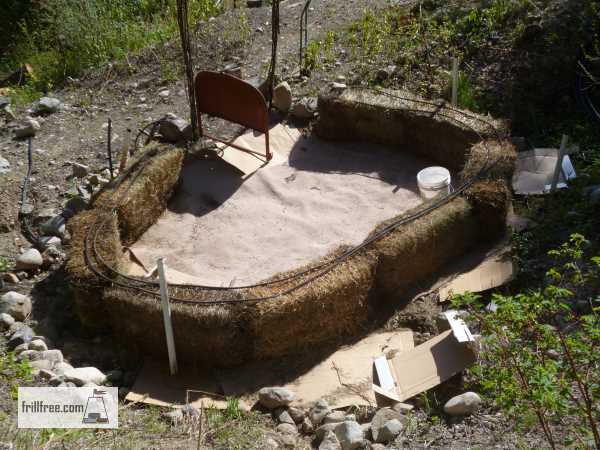 Installing the soaker hose on the top of the bales, ready for conditioning
The inside of the bale will get quite warm, just the right conditions for seeds to germinate, or little transplants to get established.
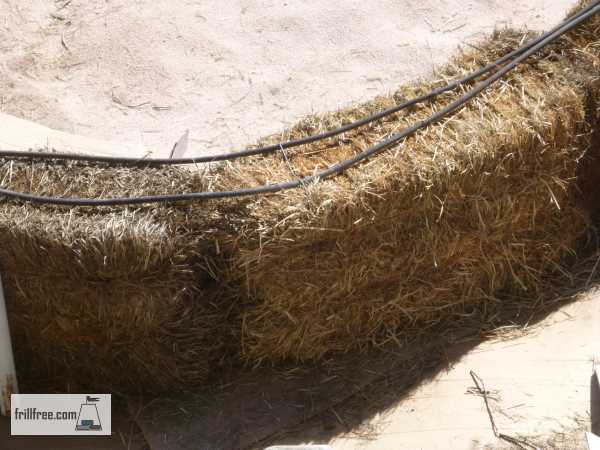 Closer view of the soaker hose held in place with long pins
The moisture that a bale will hold is amazing - this is what you want, for a reserve of water for the plants as they grow. With regular irrigation as well, such as with a soaker hose or drip irrigation this will provide the plants with all they need.
Some helpful tips from an experienced hay bale gardener;
You might already know this and be planning around it, but just in case I thought I would mention that doing bale gardens with hay often results in all the hay seed germinating and creating a chia-pet-like weed situation.
If you can find straw bales that is better, as the seed has been removed. Or if you can only find hay, conditioning the bales with daily watering and added high-N blood or feather meal (or diluted urine) for several weeks before planting can sometimes hot compost the seed so that they won't germinate.
I just wanted to share my experience, as I've tried both hay and straw bales.
Good luck and may you have a great garden!
I use captured rain water using my favorite watering cans, but if you have other water and use the slow drip type hoses that's fine too, as long as it's not too full of minerals.
Soaker hoses and drip emitters can clog with particles of calcium or sediment.
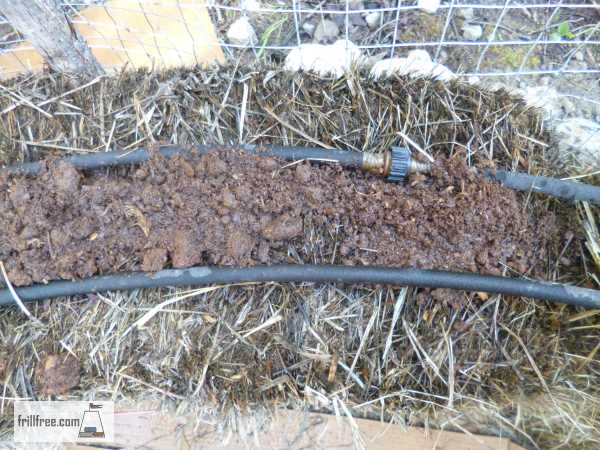 Chicken Manure is great for conditioning the bales
Use either compost tea or diluted urine to give a good start to the composting process.
Sprinkling mature compost or chicken manure on the top of the bales and then watering it in is fine too.
If you're planning on growing tomatoes on your bales, put a few cup fulls of Dolomite lime in the places you'll be planting them. This helps prevent blossom end rot when they fruit.
Another option is to use a product like Gaia Greens All Purpose Fertilizer, which gives you a balanced organic mix to get the right nutrients for your crop.
This Fox Farm liquid fertilizer would be a good product too, especially easy to apply, simply mix according to the label instructions and sprinkle on the bales.
Once the process of conditioning the bales is started, it's important not to stop.
The simple chemistry behind composting is that the beginning of the reaction of moisture and some kind of food for the micro herd in the bale means that it can get really hot - too hot to put your hand in!
Keeping the bales wet at all times is crucial to prevent them from bursting into flames.
Because of this, you should NEVER build a hay bale garden beside a building of any kind.
