- Homesteading
- Project Portfolio
- Pearls Place
- How to Build a Mudroom
How to Build a Mudroom
Tips and Techniques for Making Extra Room
If you've built your own home, you will know firsthand how quickly the room fills up with coats, boots, cans of paint and the vacuum. Without a place to store them, things add up and get out of control.
That's when you make the decision to build a mudroom to act as the first line of defense against clutter throughout the house.
An 'arctic entry' is one option. This acts as an airlock in cold climates, with a door to the outside, and one to indoors too. Cold air doesn't get a chance to get into the warm air of your living area. This is a good thing, but it also means that the mudroom will be unlivable.
If you want also a place to grow a few little flats of greens or house plants, a place to hang coats and hats, as well as storage for boots and slippers and seasonal gear you may want the second option; a mudroom that is open to the warmth of the living area, but still enclosed and separate.
Generally, some kind of coat closet, with cubbies or a bench to give you somewhere to store things, and also a place to sit to put boots on is an important feature for a mudroom. Hooks made from twigs are a rustic accessory.
Windows are essential, and make them so they open to let a breeze in. Other things that the mudroom may end up being used for is as a place for wet dogs to dry off, so air flow will be important, as well as a place for their beds.
Heating won't be as crucial, although in floor heating would be nice, not only to give your boots a head start on drying, but also to please your feet when you take them off.
So here's how we built our mudroom. It's phase one of a larger addition, the other side will be a covered porch, but this is how we started. Footings are important.
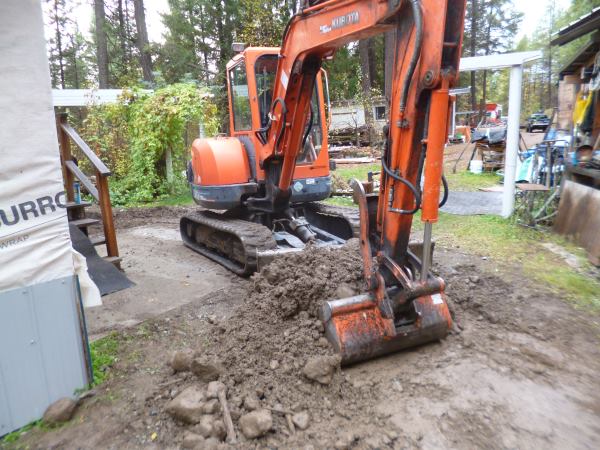
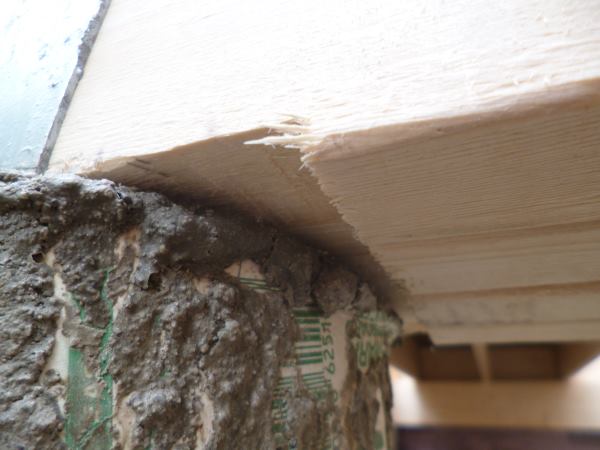
In this case we copied the same system as we used for the house; Big Foots with Sonotubes, filled with concrete. The digging was done on one day in the fall, and then it started raining. Without concrete in the tubes, there was a risk that they would crumple and being cardboard and wax paper, disintegrate.
We covered each one with an upside down garbage can for protection, and got the concrete poured as soon as possible. The saddles were put into the wet concrete, then it was left to dry.
Then the beams were set into the saddles. The beams are actually two by ten lumber, laminated three together.
Then floor joists, more two by tens, are attached to a rim joist at each end, to hold the floor. The base of each set of two joists is filled with a recycled piece of metal siding salvaged from the trailer. That's what holds the insulation in place, and prevents vermin from moving in.
The plywood is fitted to make a sub floor. Special plywood that is tongued on one side and grooved on the other slots together. This can be painted, tiled or hardwood flooring can be installed later.
The walls go up quickly after the floor is in place; it makes a flat place to work, and build each wall in turn.
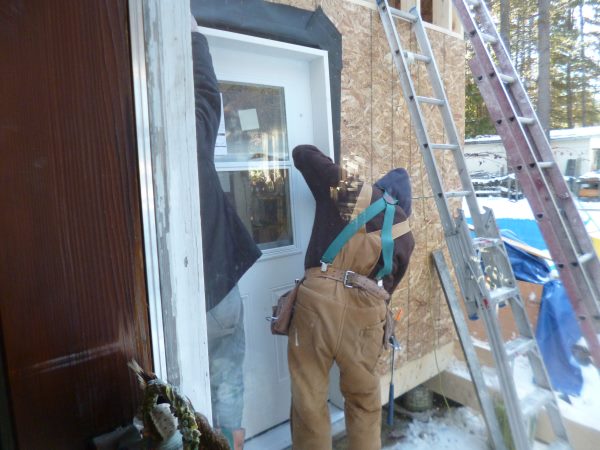
It's important to frame in for doors and windows accurately.
In this case, we got two windows that were ordered but not paid for by a customer from our local lumber yard. They are unusual sizes, so they were hard for the yard to sell, but to us, we could build around them. They are double paned (essential) and also open partially, to get the cross breeze.
The roof is pitched the same as the roof on the house - 4:12 which means that for every 12', it drops four feet. Translated into the size of our mudroom, which is ten feet square, this means that it has to be 3.33' higher on one end than the other. The side over the door is the highest, because we'll be adding on the covered porch on that side.
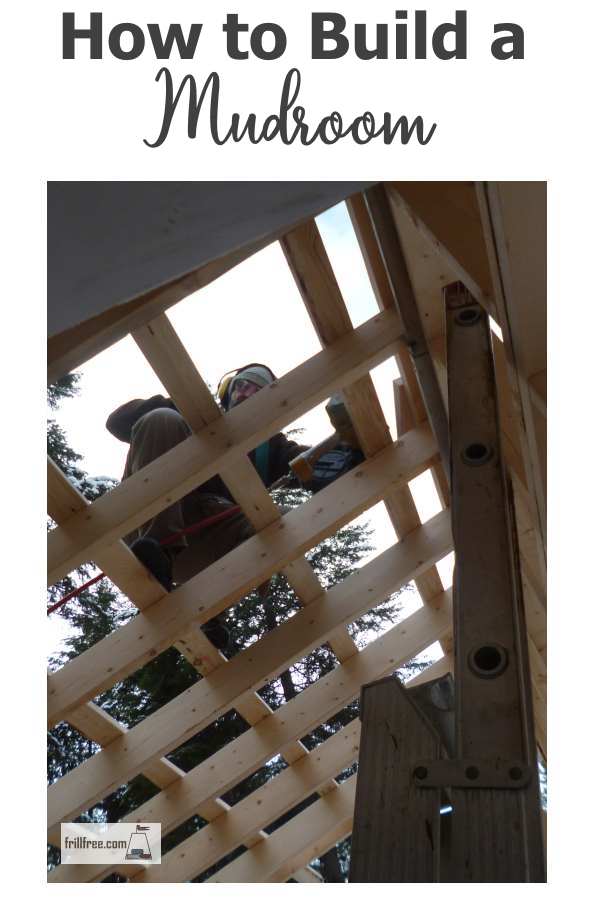
The rafters are installed on 16" centers, then strapping of 2x4 lumber is nailed on to keep them upright. You could, if you wanted, put blocking in between to keep the rafters from shifting. Check your local building code to see if this is needed.
Because this ceiling is vaulted, it is a bit different to insulate. We've installed tar paper above the strapping, which is then covered with metal roofing. We'll also be using 'egg crates' which are used to allow air to flow in between the insulation and the roof, to stop condensation.
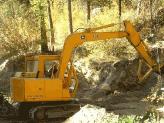
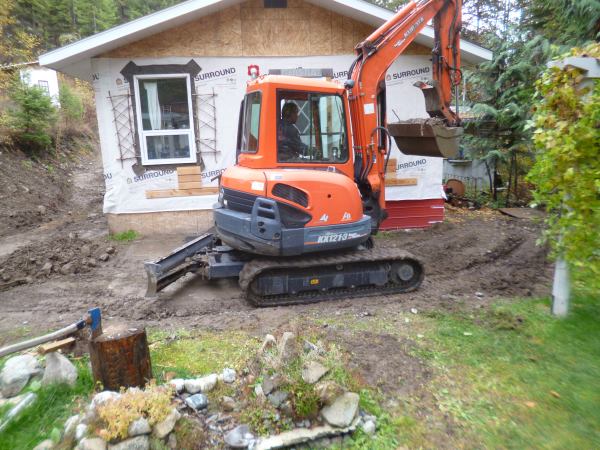 Removing excess fill from the site
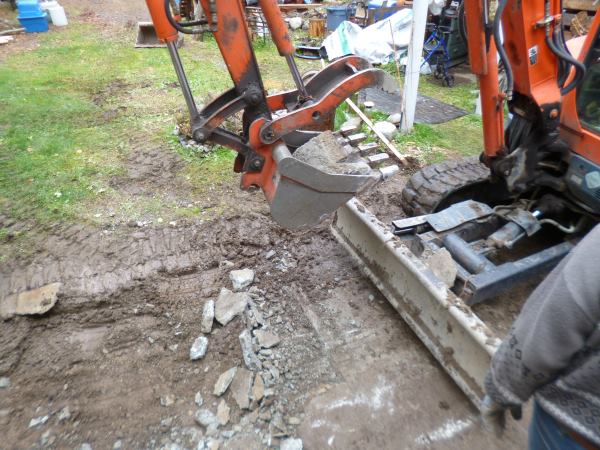 Breaking up a concrete pad
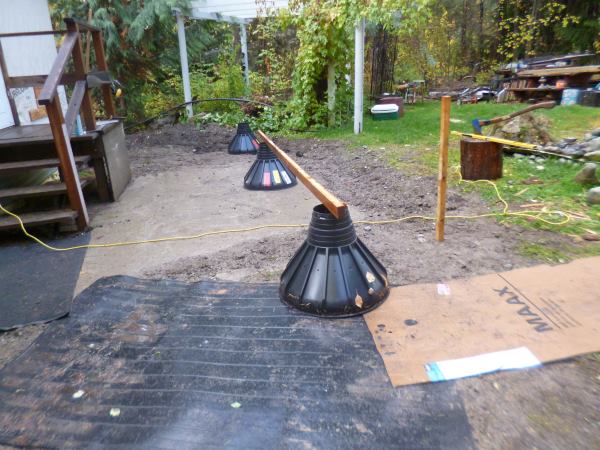 Spacing out the Big Foots
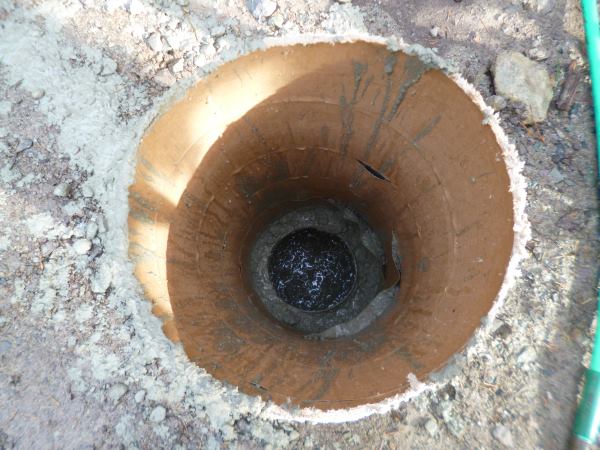 Pouring the concrete into the Sonotubes
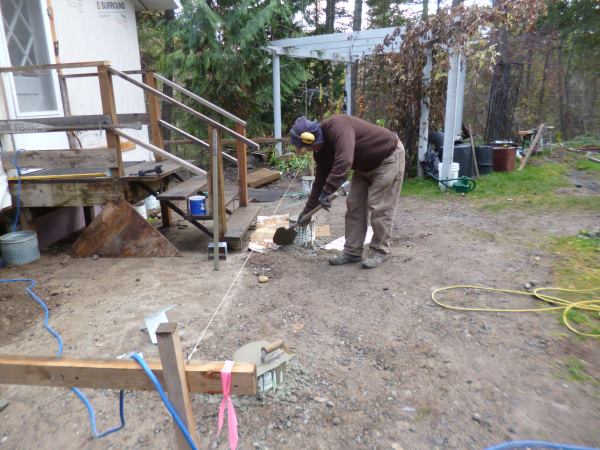 Leveling the top of the poured cement
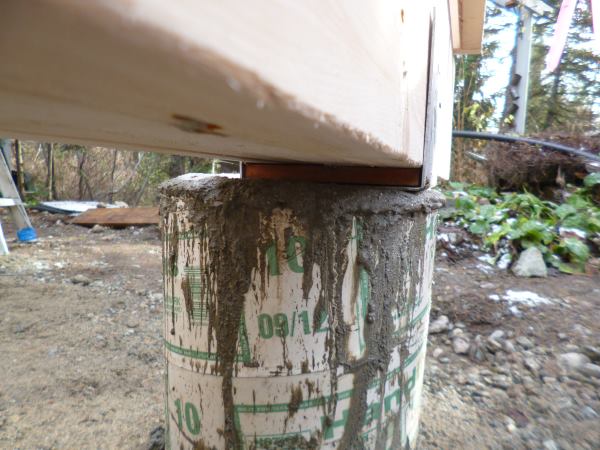 And this one was too low...
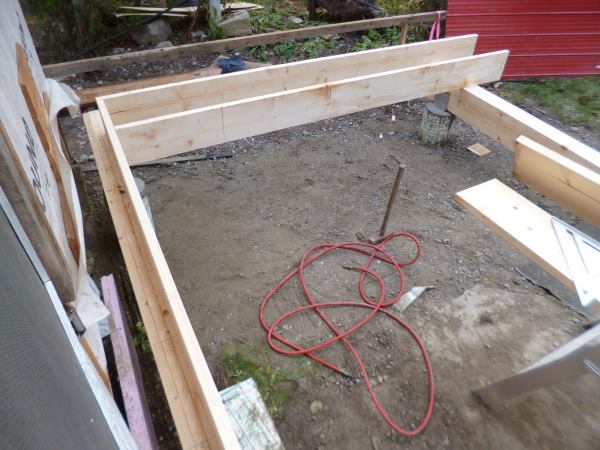 Starting to install the joists
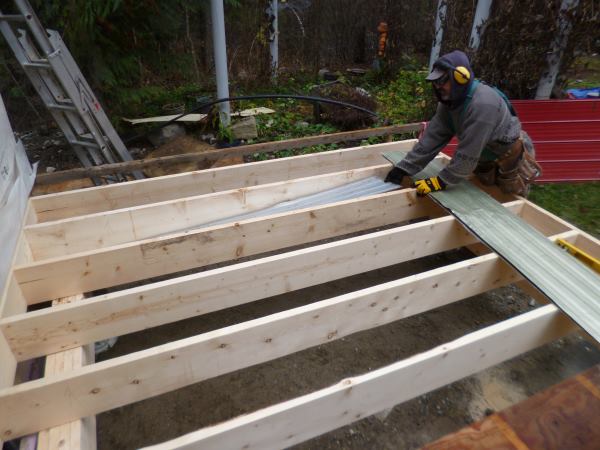 Metal siding is cut to size and put between each joist to hold the insulation
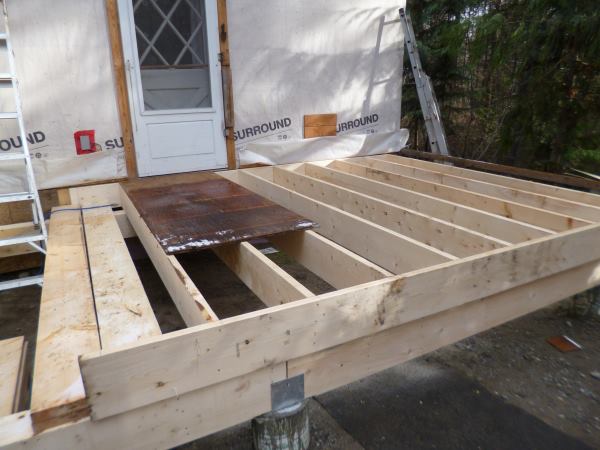 All the joists for the mudroom are in place
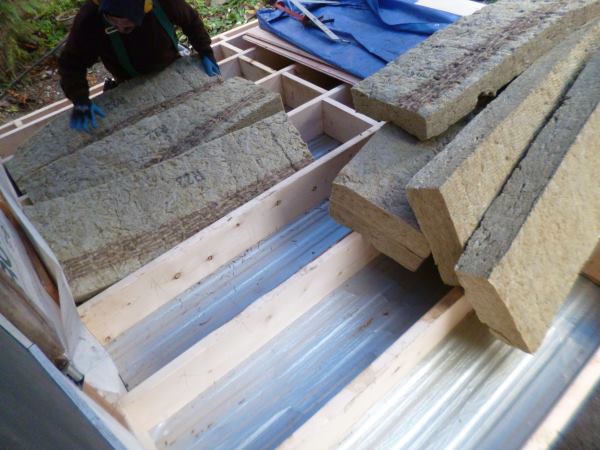 Then insulation is carefully tucked into each cavity
See the ribbed metal lining the cavities? That's the recycled siding from the mobile home - nothing goes to waste around here!
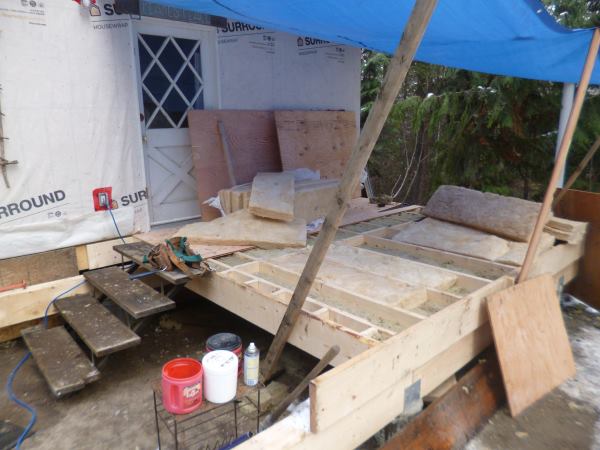 All the insulation is in place - total R Value is 36
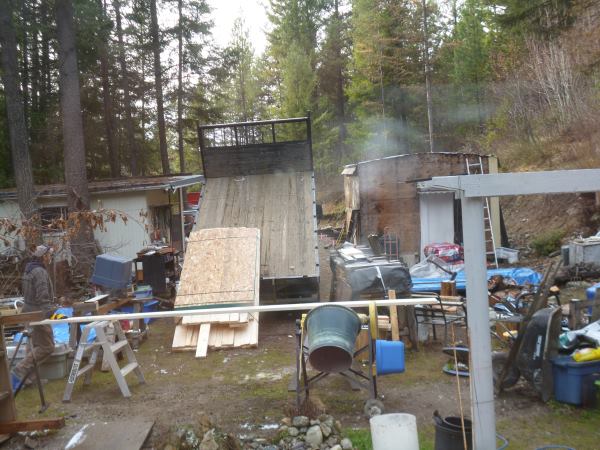 Then more materials are delivered
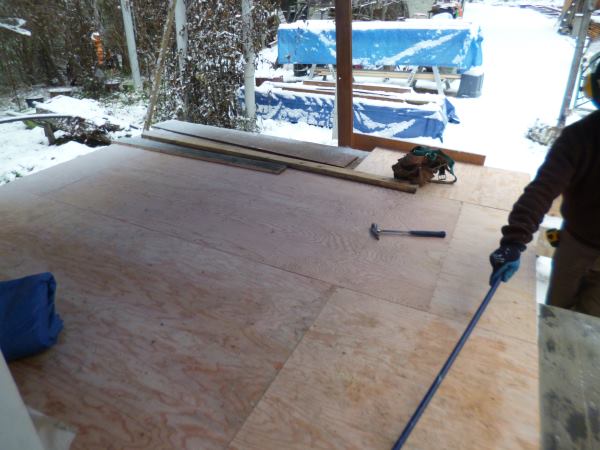 Plywood tongue and groove floor
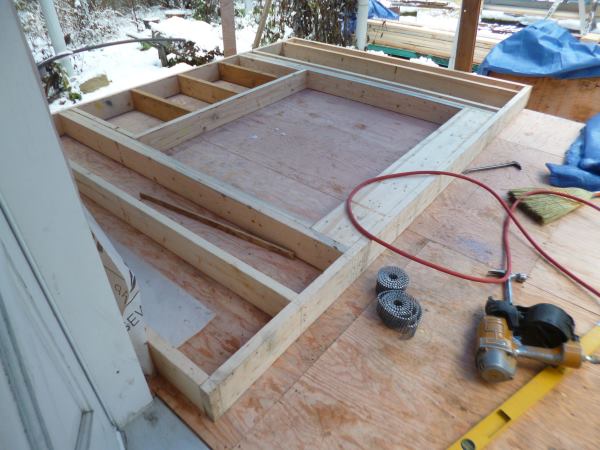 The walls are going up now - built on the floor...
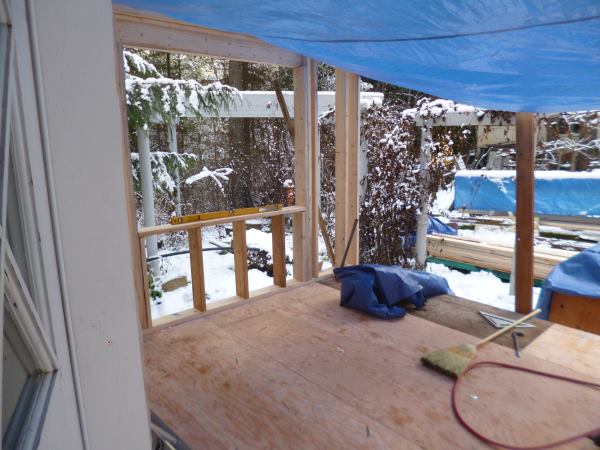 Then stood in place...
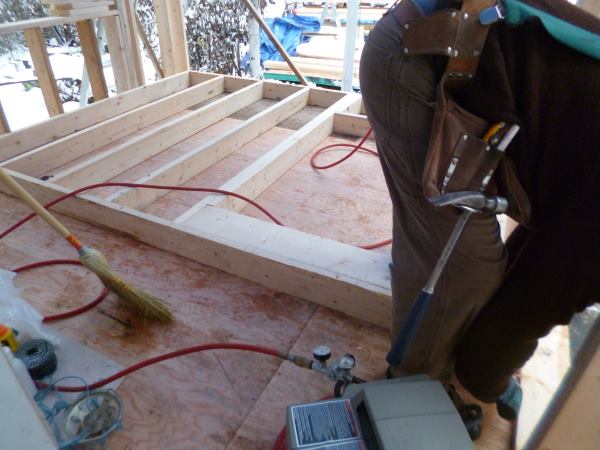 The next wall is going in now
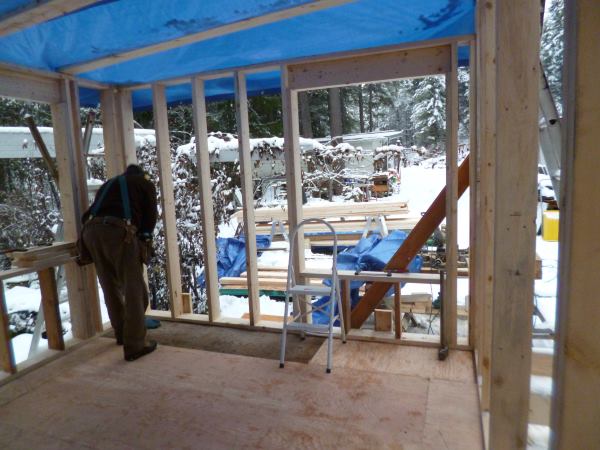 Note the window hole already framed in
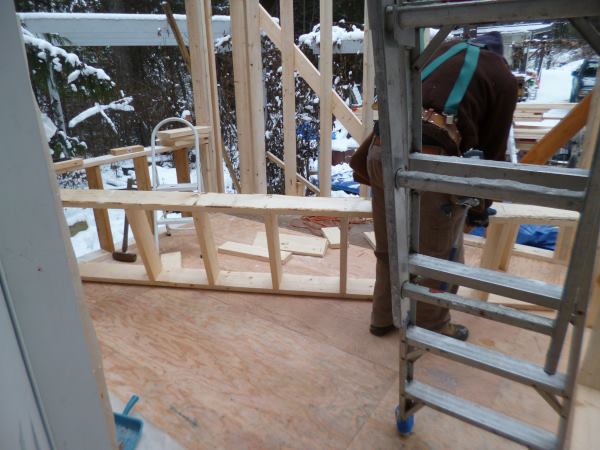 The 'pony wall' is built on the floor
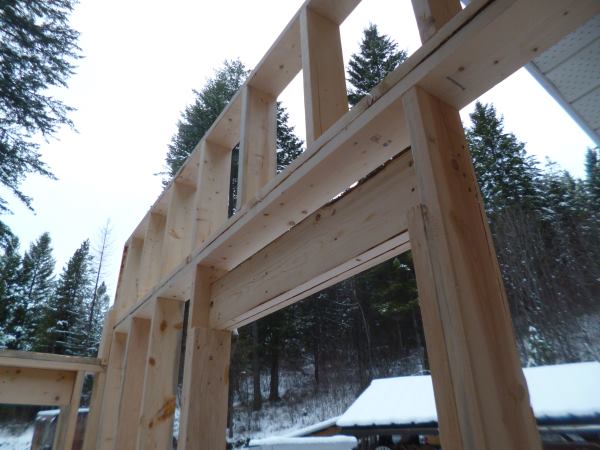 Then hoisted into place and attached
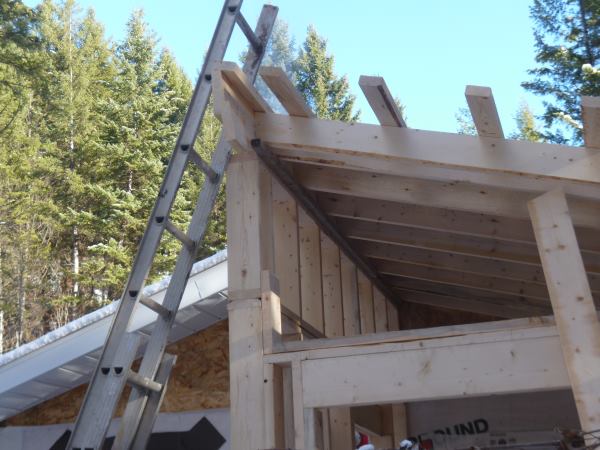 Roof rafters and strapping
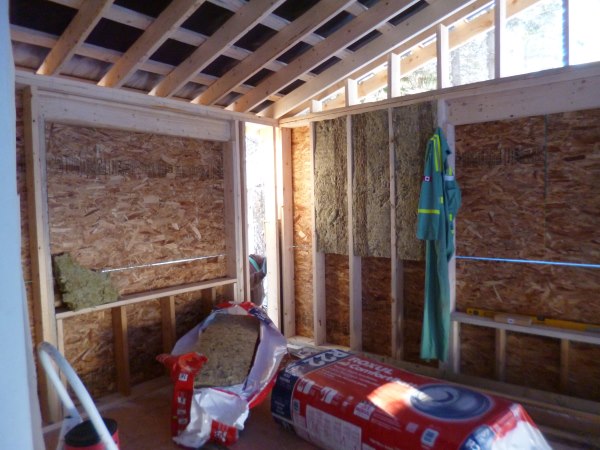 Interior view of the mudroom
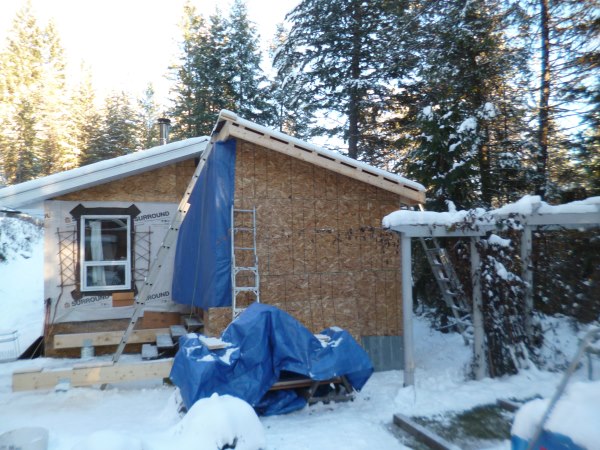 Exterior view of the mudroom
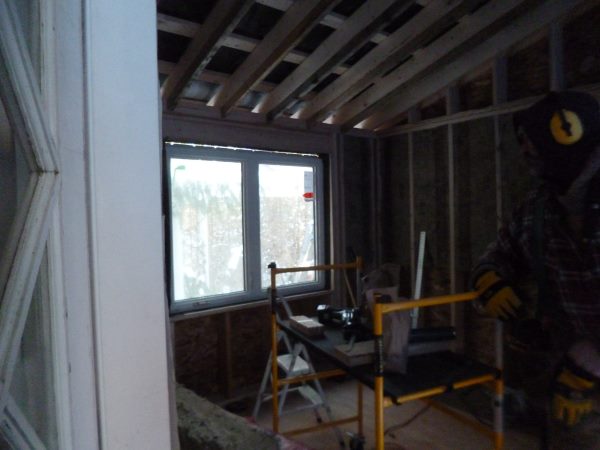 South facing window...
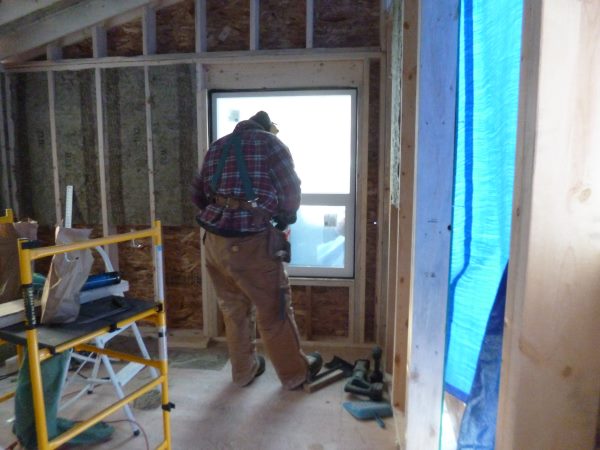 And the west window
Note about the windows; these were specially ordered by someone else who decided they didn't want them after all, so we got them super cheap. The mudroom is built around the sizes of the windows.
Bonus; the west facing window can be removed and made into a doorway, if every anyone wants to add on another addition, leaving the mudroom as the entry into both wings of the house.
Update; after two full seasons with the mudroom, it's obvious that it makes a huge difference in the way the house responds to hot summers. Without the heat of the sun on the south/west walls, the house stays super cool all afternoon.
