- Homesteading
- Frugal Gardening
- How to Take Rose Cuttings
How To Take Rose Cuttings
And Increase Your Rose Hedge
Roses are one of the most recognizable plants in the garden, and have many uses, from bouquets for displaying in the house, to rose petals for pot-pourri or essential oil, to rose hips for making into jelly or tea or just for the birds. If the scent is important to you, or cut flowers, those are valid reasons to grow them too.
Growing roses to help finance your homesteading journey is a valid way to make money. Sell the cuttings to other gardeners, grow them on as liners and sell them to other homesteaders for a hedge, or sell the many products you can make from them.
Whatever you want roses for, you will value this skill of creating more plants from just a tiny offshoot, without waiting for them to grow from seed.
The huge advantage of growing more roses from cuttings is that they are hardy right down to the roots, unlike a grafted rose that runs the risk of dying back in a cold winter, or being overgrown by the root stock. Cuttings are all the same genetic material, so there is no risk of this.
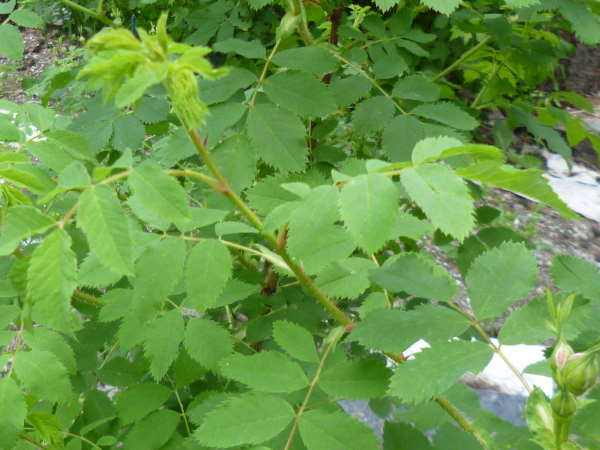 Good growth on the rose bush for cuttings - look for three to five nodes
Increase your collection by taking cuttings from friends, or even strangers, with their permission, of course. This way, you will get many more types and varieties, always a good thing when you are trying to determine the best ones for your needs.
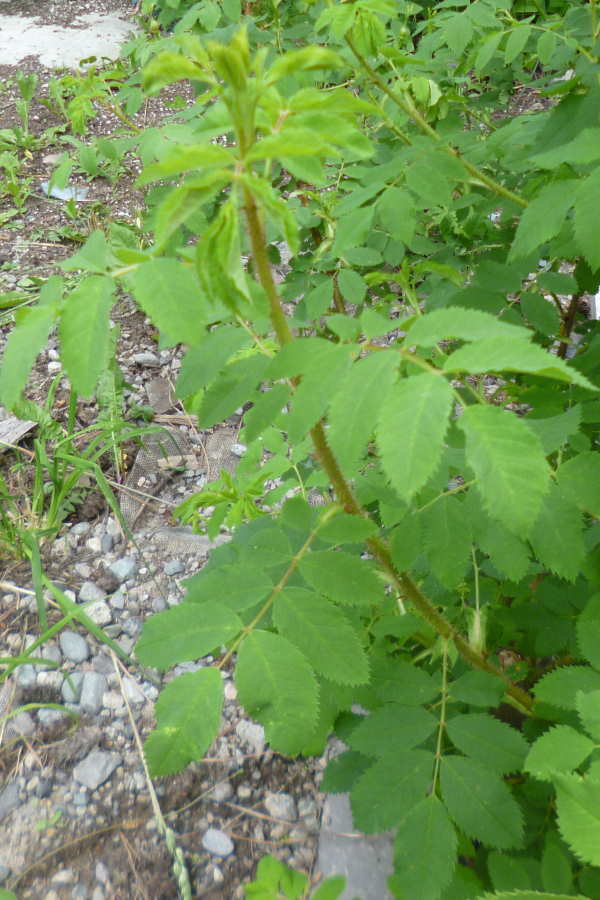 Rose cuttings to avoid - the thick ones tend to rot before they root - I call these '3F' - Flabby, Floppy and Flimsy
To start, mark your calendar for the summer solstice, June 21. This, and the following few weeks, are ideal for taking rose cuttings. Stop taking rose cuttings in the middle of July - they won't have time to harden off for the winter if you do it any later.
Look for growth that has a flower bud just opening, and about six inches in length. It should have two or more leaves on it, which is important because roses only have buds in the axils of the leaves. A blind cutting, one without a bud, will never grow - it might root, but then nothing else will happen.
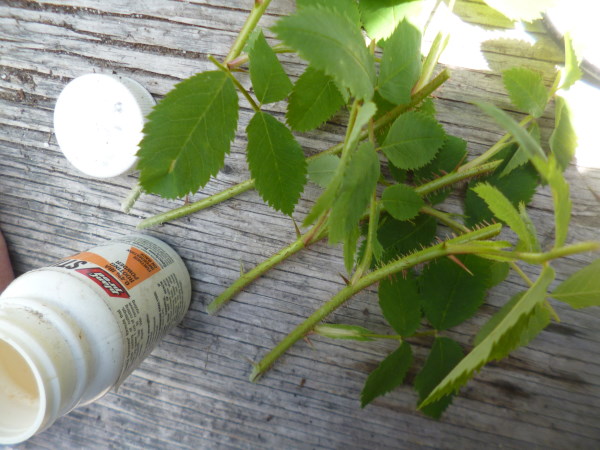 Prepared cuttings of Rosa woodsii, dipped in Stimroot #2 rooting hormone
Keep the cuttings cool, in a cooler if you have a distance to go, or wrapped in damp paper towel and placed in a plastic bag. Make sure they are out of the sun, or you risk cooking them before you can get to them.
Then when you reach your propagating area, prepare a few four inch pots, filling them with sterilized potting soil. Moisten the soil, not soaking but just a bit - if you use my favorite potting soil, Sunshine Mix #4, it has water holding polymers in which help re-wet it if it's dry.
To keep the area clean, and the inside of the bag, fill the pot with soil first, then put it in the bag. Then briefly water it - the soil will absorb moisture from the inside of the bag, and where the condensation forms.
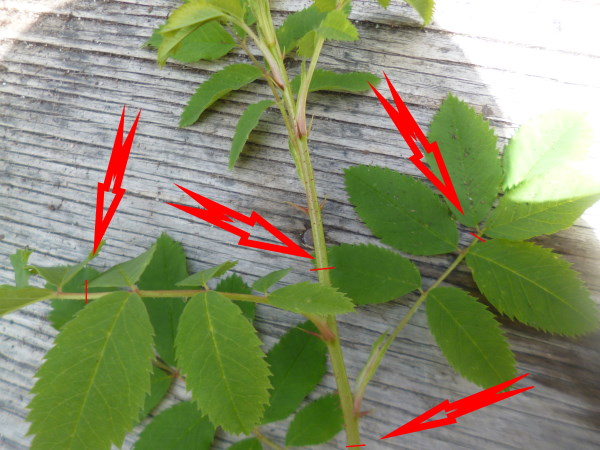 Where to cut the rose cuttings - cut off the floppy top growth, then select the two to three nodes to keep - cut off the excess leaflets
Take the top of the cutting off, if it's sappy new growth, as this will just wilt. Take the flower and any buds off too, as they'll just suck the energy out of the cutting and stop it from producing roots.
Also trim off the excess leaflets - roses have a compound leaf with five to nine leaflets each, most often seven. Take off all but the to four lowest ones so it doesn't suck the life out of the plant before it roots. It's a balancing act; leave just enough leaves to give the plant the photosynthetic capacity to survive, but not enough to drain the energy from it before it roots.
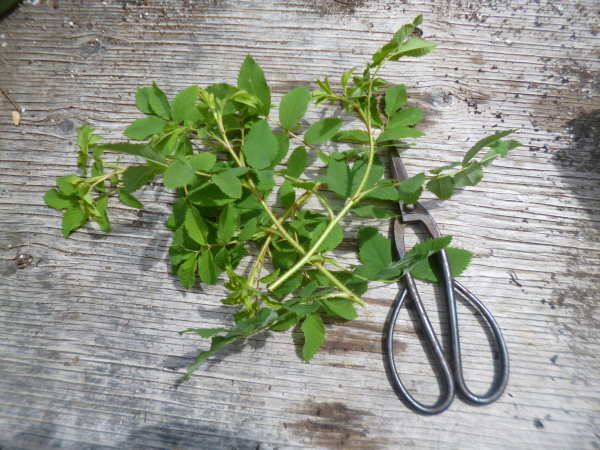 Rose cuttings, ready to prepare - make sure your tools are sharp and clean
Then dab it into the Stimroot #2, and then stick the end directly into the soil. Water carefully, using a fine rose or a spray nozzle.
Put the whole thing into a vegetable bag or other plastic bag that is clear, and thin. Dry cleaners bags work well. Then blow into it, and tie it off. Your breath adds carbon dioxide (CO2) which will help them root. You're welcome.
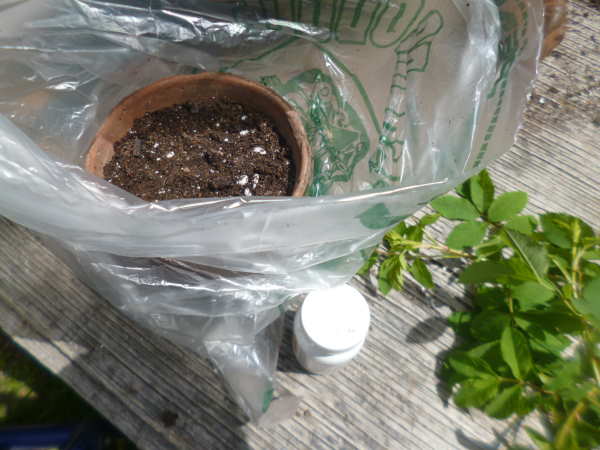 Place the pot inside the bag before sticking the cuttings
Place the pot and cuttings in the shade, like under a shrub, so it gets only filtered sunlight, no direct sunlight.
In two weeks or so, open the bag and tug on the cuttings. if they've got roots, there will be some resistance. Replace the bag, blowing into it again.
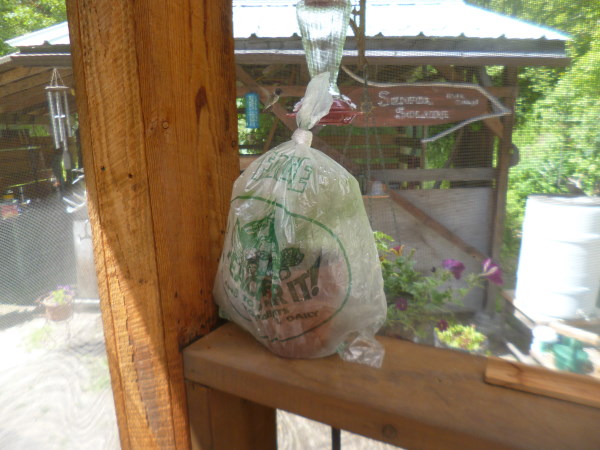 The inflated bag of cuttings, in the shade on the porch railing - notice the hummingbird photo bomb
Give them another week or so, and you may see roots coming out of the holes in the bottom of the pot. The ideal sign is light misty condensation on the inside of the bag, not large droplets. If this happens, open the bag and let them breathe. In a few weeks they can be put into the sun again, without the bag on. Do this gradually, especially if they have any new growth.
By the time fall arrives, your cuttings will be well rooted and can be planted in the garden, either in their eventual destination, or heeled in to a nursery bed until spring.
If you get 50% rooting or more, you'll be well on your way to having a full native rose hedge, or whichever other plant you desire. Always take that into consideration, and increase your cutting numbers accordingly.
Other plants can be rooted with this exact process; pansies, petunias, callibrachoa, lobelia, geraniums and the like, to help make your hanging basket budget go further.
