- Homesteading
- Growing Ornamental Plants
- My Growing Set Up
My Growing Set Up
How To Grow Plants Under Lights
I am a participant in the Amazon Services LLC Associates Program, an affiliate advertising program designed to provide a means for me to earn fees by linking to Amazon.com and affiliated sites. Other links on this site may lead to other affiliates that I'm associated with.
All my plants seem to like growing under lights; here is my growing set up in detail for those that want more inspiration for their own use.
This is not something that I've planned and executed; it grew more organically than that, in fact, somewhat by accident.
Just because I'm a certified horticulturist with tons of training and a boat load of experience, all this means is that I can recognize when something is working a lot sooner than I otherwise would.
The skill here is to not be afraid to try things, such as configurations that don't seem at first glance to be an improvement, or the use of unlikely materials, and above all, be willing to pivot.
Terracotta Clay Pots
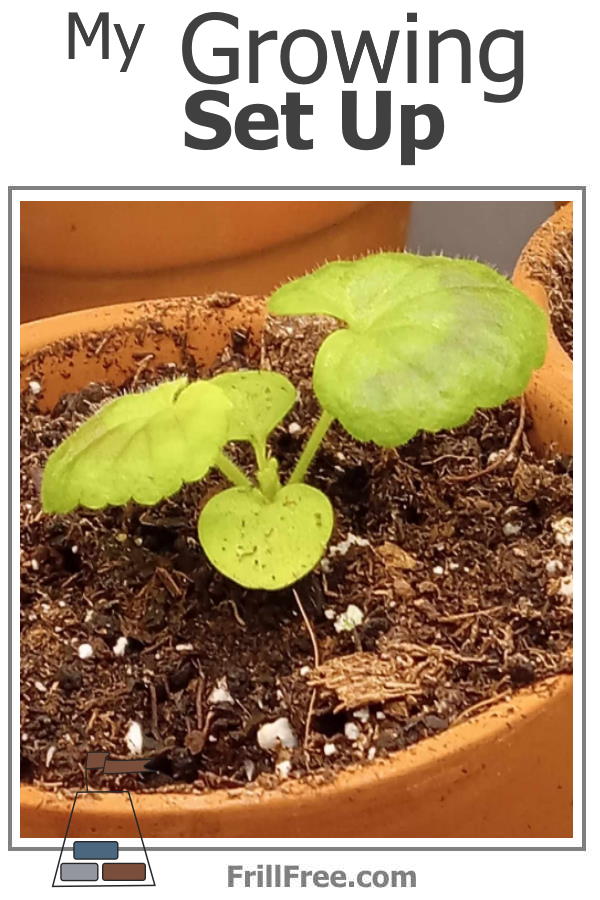
I've always like terracotta clay pots, so I was thrilled to see so many choices for them on Amazon. After so many decades of them being out of style, they're back with a vengeance.
The smallest ones that I purchased are about two inches across, which sounds small, but some of the plants I'm growing are very small and slow growing, like the Streptocarpus.
The seeds of Streps are like dust, and the plants grow at the pace of a snail. Having them in larger pots would just make the perfect opportunity for rot, as the soil volume would just stagnate.
I was pleased when the pots showed up on my doorstep, carefully packaged in foam that is custom molded to protect them during shipping. Not one has arrived broken, which is amazing.
Other sized terracotta pots are about 3" across, and a bit deeper, and then 4", and some short squat ones that are bigger again. Finally, the biggest ones are 6" across. Each of the larger sized ones have a saucer to fit them. The tiny ones not.
I'll be writing another article all about why I prefer to use the clay pots above any other containers available today.
Bussing Tubs
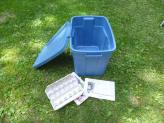
Another component of my set up is the bussing tubs. Originally ordered to use to mix soil in, when they arrived they were a lot smaller (like half the size) than what I had pictured.
I almost returned them, but then thought, well I could probably use them for something. They are packaged four in a set, for around $30, so not terribly priced. I've ordered them several times, and now find I need even more!
One thing I discovered though, is when stacked, they are so close fitting to each other that the suction prevents them from separating.
I learned my lesson; now I put a piece of newspaper between them to keep them apart. As it happens, they are all in use at any given time, no need to stack them, so far.
These tubs are the perfect size to fit 20 of the smallest terracotta pots, 7 or so of the mid size and 6 of the 4". They fit perfectly on the seat of my walker, which as a somewhat disabled person, gives me the freedom to move things around without falling over.
They also are only about 5-10 lbs (3-5 kg) fully loaded, which (for now) I can still lift.
Anything larger than these wouldn't fit and I would have to ask my already overburdened helper to move them for me.
In an attempt to be economical, I've been using recycled containers like plastic tubs such as what whipped topping or margarine comes in. Sometimes I poke or drill holes in the bottom, other times I just put a small amount of soil in the bottom and use it like a tiny greenhouse with a clear lid on top.
I use these for plants like tomatoes, where I plant one seed in the middle, which sounds ridiculous, but it means that you don't need to repot them, simply a single transplant into the garden for a one-time shock.
This means that they don't waste any time recovering from root damage, they can just explode into growth.
Shelving
The third piece of the puzzle is somewhere to put all this; the shelving units. I wanted wire shelves, so I could attach the lights without having to screw them in, or use double sided tape, which both came in the packaged lights.
The other item they include is zip strips, which although cool, are hard to get apart and require cutting, which is not what I wanted.
The shelving units come in various sizes and configurations, ranging from two shelves to five. They are adjustable, so you could have some closer and have smaller plants on those, or leave the space bigger and use upside down bussing tubs to raise up the plants.
There are so many choices you will have to look at the huge selection and make your own decision on which shelving racks will suit your situation. The shelves I chose would fit into the space beside the fireplace, and the second one is specifically measured to be shorter so it fits under the heat pump blower.
Hooks
My method of hanging the lights is by the use of 'S' hooks, two kinds. The first ones I bought were a simple design, with one piece of thick wire bent into the shape.
I bought more of what I thought were the same, but these hooks have a little knob on both ends to stop them from falling off.
These work much better, as they hold the lights from falling down onto the plants if you have to fiddle with them.
Recap;
If you choose to follow my growing system for your plants, cool. But I advise you to stay flexible and try things to perfectly customize your own set up.
Other things you might need are a sprayer, a watering can, thermometer and any other toys you fancy. The bare bones of this system is enough to get you growing and the plants certainly don't care, so start there.
I've put links to buy all the things mentioned here on Amazon, check them out and make sure you also go to their 'people also bought' section that shows up underneath. I've got many good ideas for a more economical option, or something I never thought of, or even something I tried to find but couldn't.
Above all else, have fun, and feel the satisfaction of your accomplishments when you've designed and built your very own fully functioning system, customized to your needs.
