- Homesteading
- Growing Vegetables
- Planting Seed Potatoes
Planting Seed Potatoes
Growing Spuds
There's nothing quite like homegrown baby spuds, or a cellar full of delicious tubers. Root vegetables grown organically in your own garden are so nutrient rich.
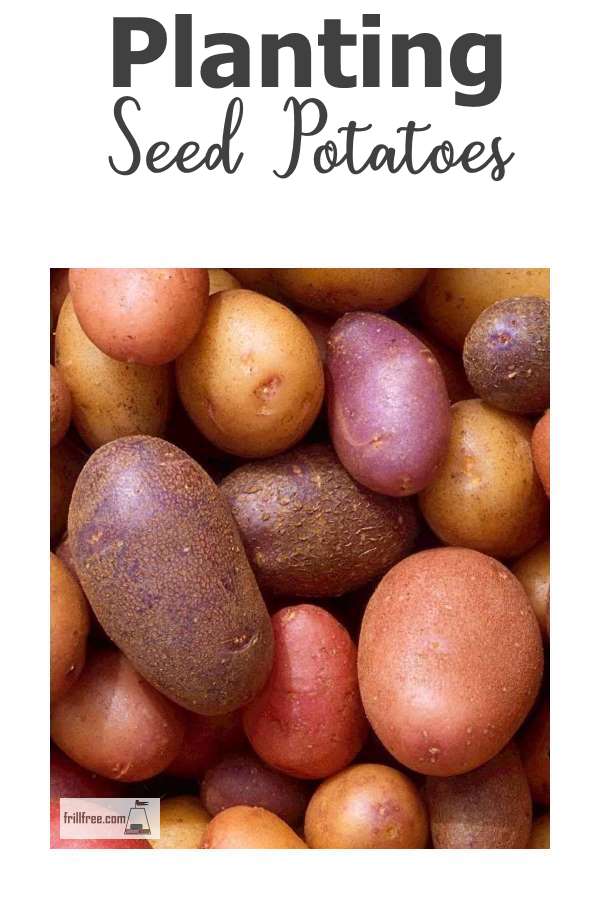
'Seed' potatoes is kind of a misnomer - there are no seeds involved. Small potatoes, about the size of an egg, or a larger potato cut into similar sized pieces is what is referred to as 'seed potatoes'.
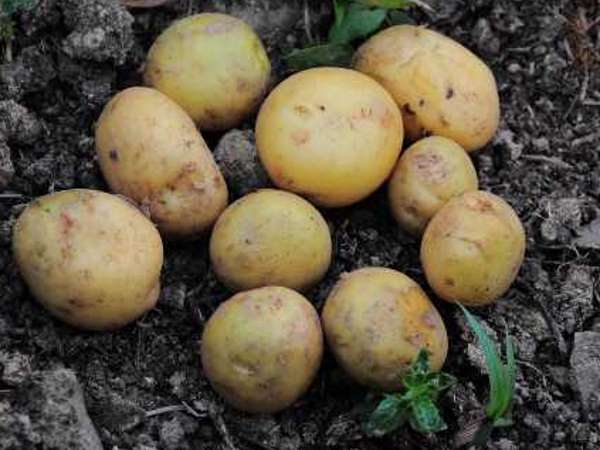 Seed Potatoes - egg sized whole spuds or pieces make the best 'seeds'...
The only seed potatoes you should use are those from certified virus
free stock - don't try keeping your own for planting the following
year. Over time, diseases and viruses can build up, overwintering in
the soil, crops left in the ground, or even spare potatoes in the
compost bin.
To prepare your seed potatoes, they need light - this is the only time they should be in light. They need it to start growing, and if they're cut pieces they also need to callous over and heal.
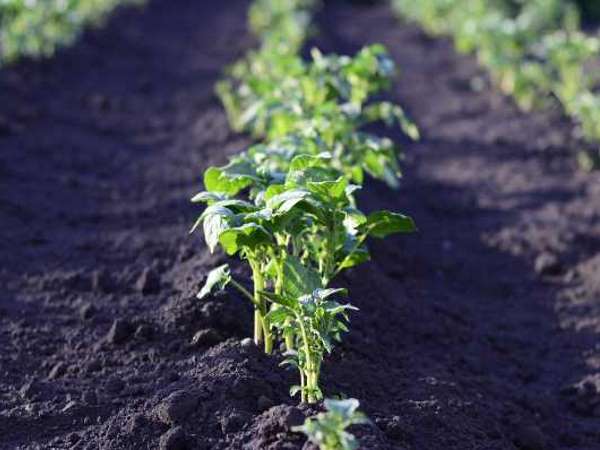 First Hilling
The process of getting them to sprout is called 'chitting' which just means to sprout.
This gives you a good idea of how vigorous they are, and which way up they should be planted.
Use care when handling them at this stage as those little two inch sprouts are not very securely attached.
Plant in prepared rows, a few inches deep. Cover them a little, and as they grow, cover them up to the first leaves.
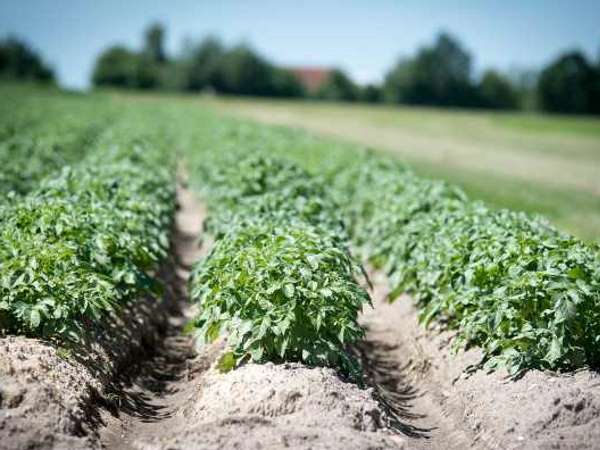 Final Hilling
Potatoes are always planted in rows or in a bin. In rows in the garden, the soil can be hilled up around them to protect the growing tubers. From this stage on, they should never be exposed to light.
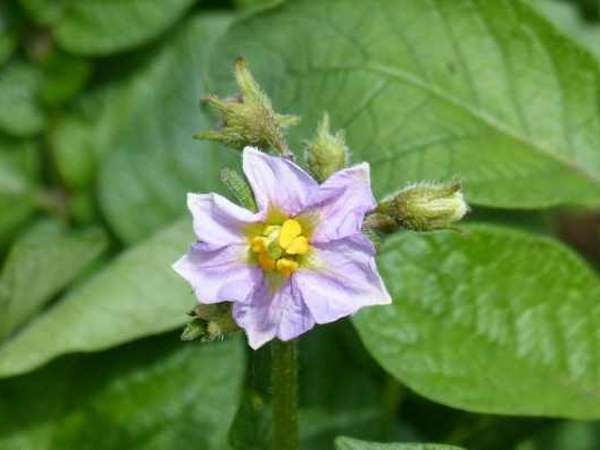 Potato Flower - the signal to start drying off the top growth
Through the summer, continue to hill them up. When the flowers emerge, you know that the time has come to stop watering them.
They need a few more weeks to ripen and mature, then the vines will start to wither.
Dig a few up to check the size, or grub around the edges with your fingers.
Recap:
Planting seed potatoes is not too
complicated, but like all gardening, it has a series of steps that
should be followed for the best results. Here's a step-by-step guide:
Materials needed:
- Seed potatoes
- Well-drained soil
- Compost
- Gardening shovel
- Wood ash (optional)
Step 1: Choose the Right Potatoes
Your
first task is to select the right type of potato for your region and
climate. Seed potatoes can be bought from a local nursery or ordered
online. Make sure you choose certified disease-free seed potatoes.
Step 2: Chit the Potatoes
About
two weeks before you plan to plant the potatoes, you need to 'chit'
them. This means allowing them to sprout. Place them in a light, cool,
but frost-free place to encourage the growth of shoots.
Step 3: Prepare the Soil
Potatoes
need a well-drained, fertile soil, preferably a little acidic. Before
planting, loosen the soil with a garden fork or shovel and mix in plenty
of compost.
Step 4: Planting
Plant each seed potato with the
shoots pointing upwards about 10cm (4") deep and at least 30cm(12") apart. The
rows should also be spaced about 60-70 cm (2-3')
apart. Keep the soil loose
around the potatoes, which helps tuber development.
Step 5: Earthing Up
Once
the stems are about 15-20 centimeters (6-8") above the ground, draw some soil
around them to form ridges. This process, called "earthing up," helps
increase yields and prevents the potatoes from turning green.
Step 6: Watering
Water
thoroughly after planting and regularly thereafter. Over-watering can
cause potatoes to rot but under-watering will lead to poor yields.
Step 7: Harvesting
Depending
on the type of potato and your local climate, they may be ready to
harvest anytime from June to October. A good sign that they are ready is
when the foliage has turned yellow and died back.
