- Homesteading
- Peasant Chic
- Seamless Dolman Top
Seamless Dolman Top
Simple and Spare Elegance - and Easy To Sew
Getting a boatload of my new favorite fabric, bamboo jersey, gave me the impetus to design and develop this super easy to sew top, with a few twists to add interest.
I've wanted to make a t-shirt-like top that isn't too tight, with lots of room under the arms, with long sleeves. I didn't want it to be too short, like most t-shirts you find online or in stores. So I designed exactly what I envisioned.
There are a lot of tunic type tops, which go below the bum, to the top of the legs, which is the perfect length for me, I like them long. This top can be altered in almost any way you could imagine, if this isn't ideal for you.
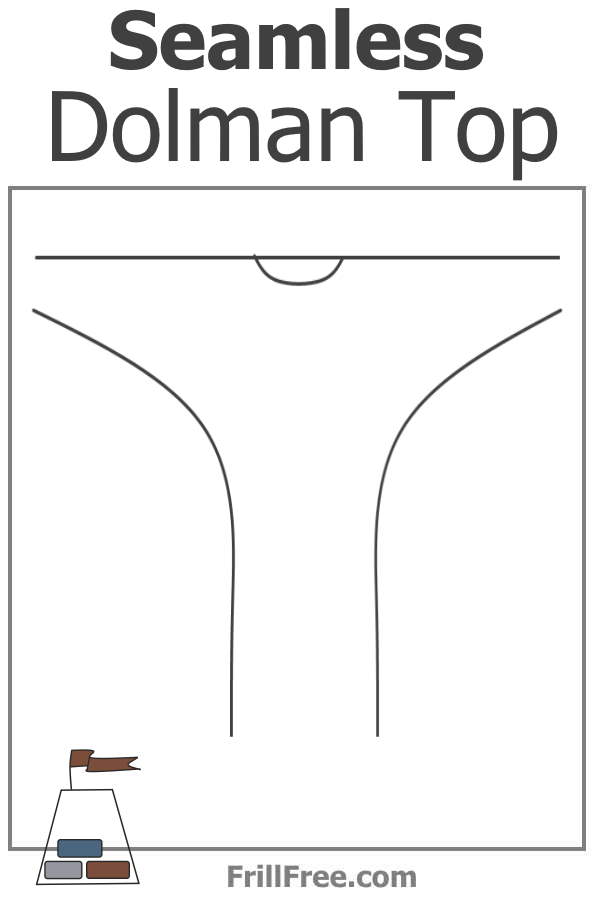
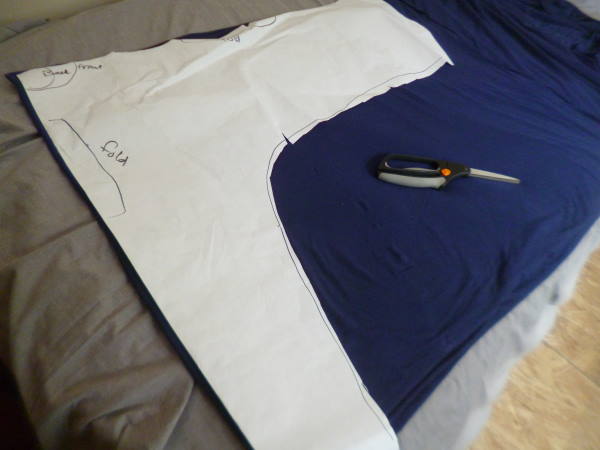
Cutting diagram;
Fold the fabric lengthwise, then widthwise. The shoulder is a fold, as is the front and back.
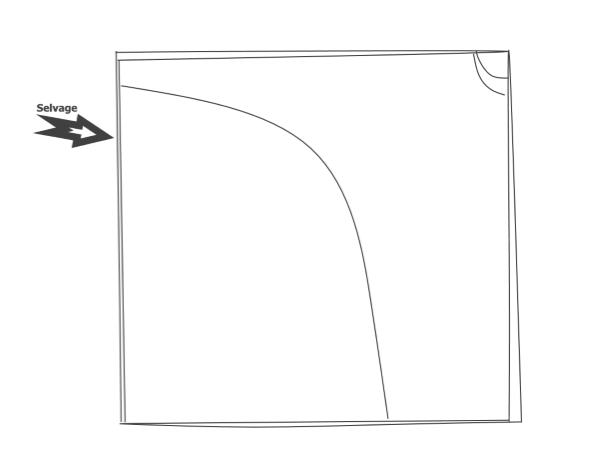 How to fold and cut your seamless dolman top
Extend it even more and make it into a caftan, or crop it off if you like your belly button to show, or anywhere in between. Leave slits in the side seams, or have a curved bottom edge to be more like a tailored shirt.
New development; I decided to make it even easier, by making it reversible, so the front is just like the back. No more trying to figure out which side is the back without putting a tag there. Super easy to do.
Instead of cutting the neckline lower in the front, just make two snips, one on each side of the neck. Then cut two pieces of bias fabric (on a 45o angle) about seven inches long. Then attach the two pieces at the ends to form a circle.
Fold the piece over, then pin it into place on the shirt collar, placing the seam on the edge of the snip you made.
Sew all the way around, with right sides together.
Fold into the inside, top-stitch about 1/4" away from the edge.
The pictures outline the process. Note the red arrows showing the slits on the sides of the neck.
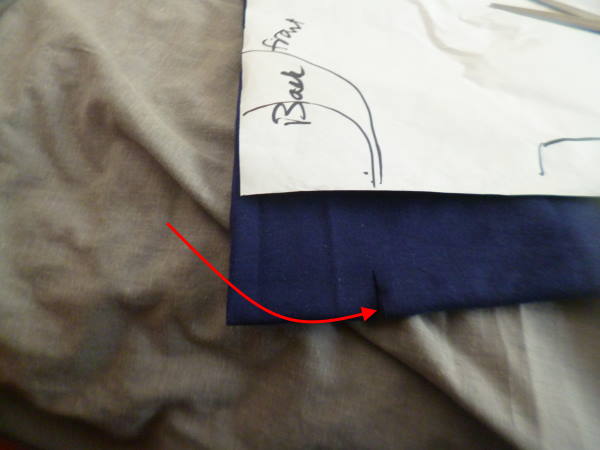 Snip with the scissors on the line of the neckline
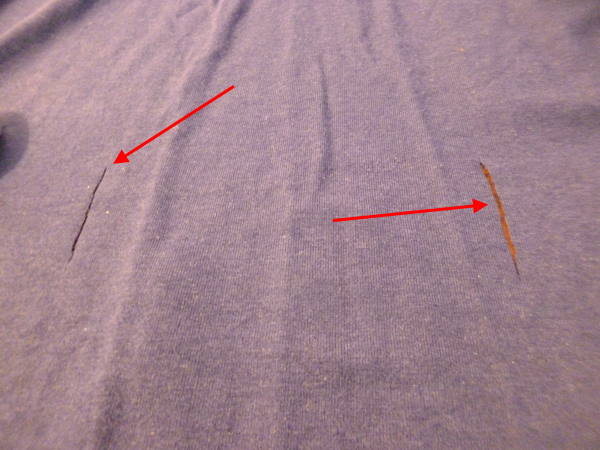 Notice the red arrows showing the slits
Cut two lengths of fabric diagonally, about one and a half inches wide. This creates bias tape. They should be around 12 inches long, or a bit longer, depending on how closely fitting you like your necklines.
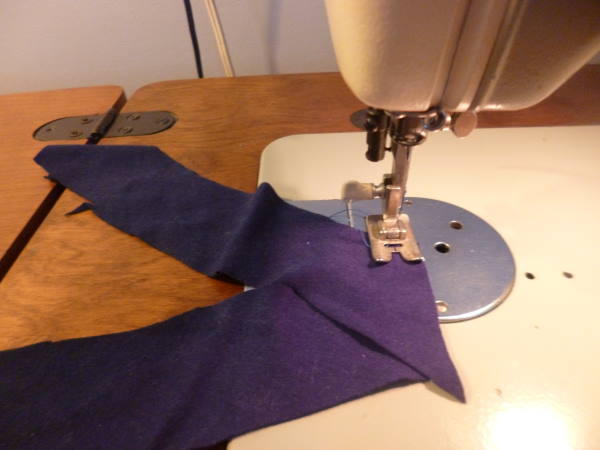 Bias strip for the neckline - first seam
Sew the ends together, by lining up the straight edges. This is the first step.
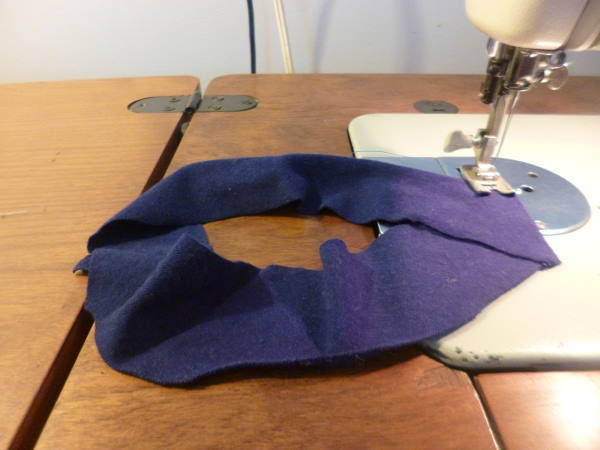 Bias strip for the neckline - second seam
Sew the second seam to make a circle, keeping right sides together.
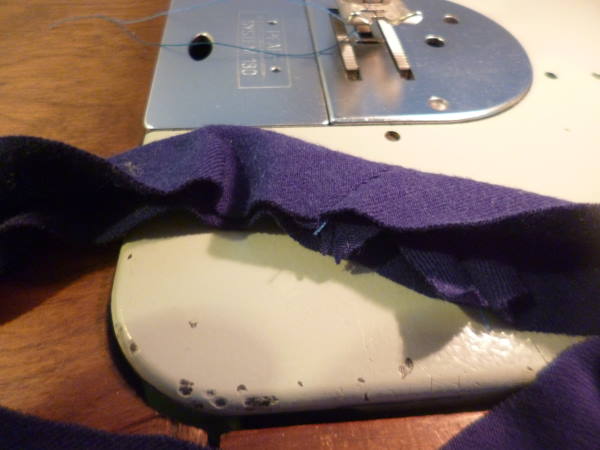 The bias strip folded in half
Fold the bias strip in half, lengthwise.
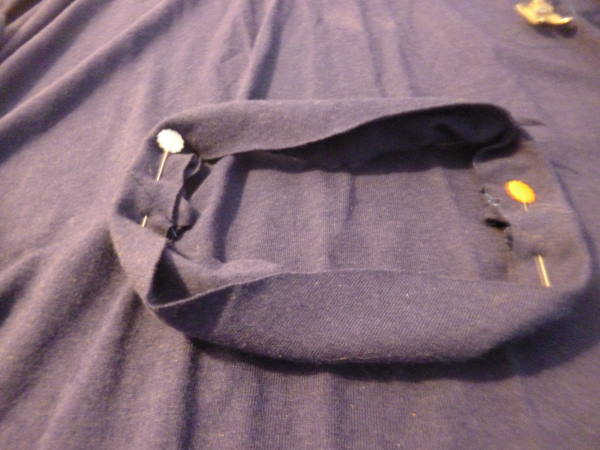 Pin the bias strip to the garment
Pin it to the garment, lining up the seams in the bias strip with the slits in the garment.
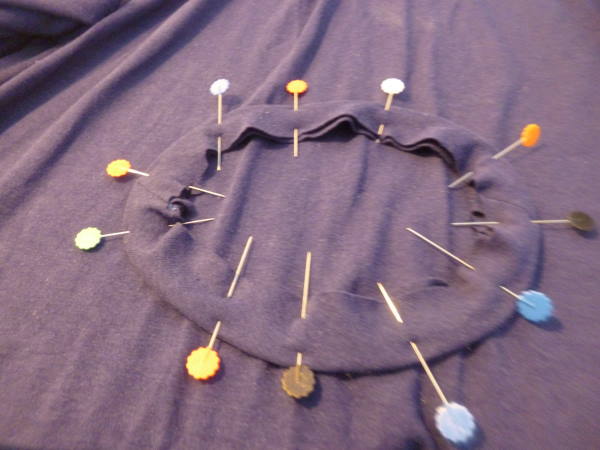 Pin it in multiple places
Pin all the way around it to hold it in place - you can baste it by hand if you prefer, or just start sewing it. Stretch it a small amount on the corners or curves.
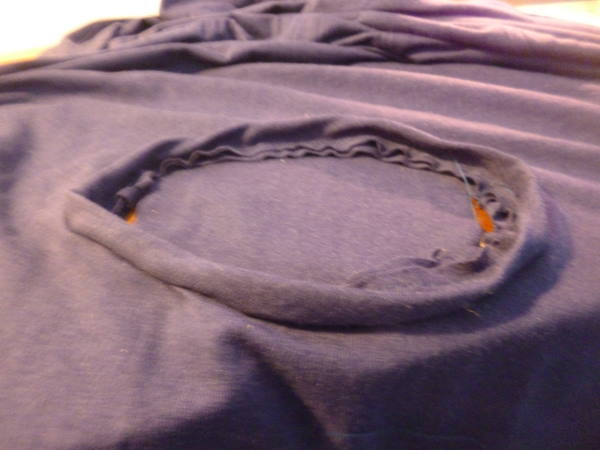 The first step of the bias strip neckline completed
The slits show in the picture of the bias strip sewn on.
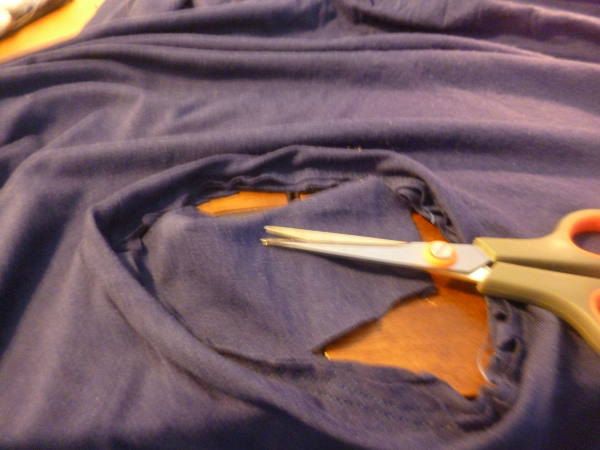 Carefully snip out the center portion of the neck hole
And here you can see the slits extended to cut out the entire center of the circle.
Turn the neckline to the inside of the garment, then topstitch around the outside one quarter of an inch away.
Sew the underarm seam, from the wrist to the bottom edge. I use a serger, but if you don't have one, use a zigzag stitch on your regular machine.
To finish, hem the bottom edge by folding over twice, to make a finished seam. The wrist can be left unfinished, because it's the selvedge. I fold the seam over and tuck the serge threads inside, and do a zigzag stitch for an inch or so.
Update; the recipient of the seamless dolman top shown here in the demo wished it wasn't so wide, so this picture shows the adjustment to make it less 'dolman'y'.
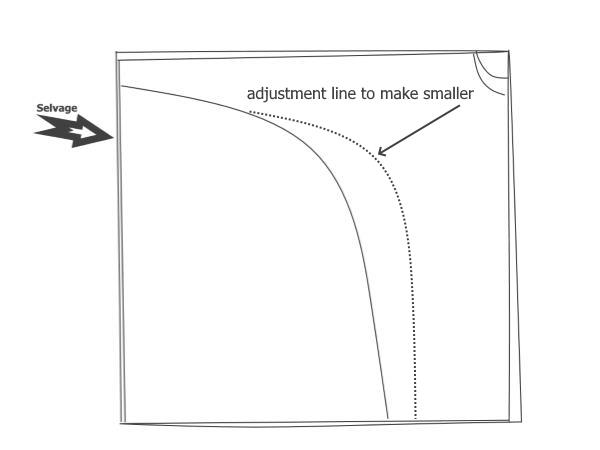 How to make the Seamless Dolman Top smaller
Measure the bust area, or use a t-shirt that fits the way you prefer to indicate where the adjustment line should be.
Fabric Preparation
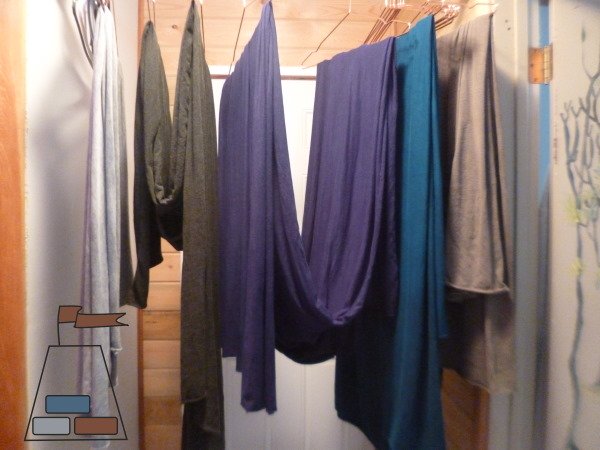 Bamboo Cotton Jersey, hanging to dry
Fabric preparation is important - make sure you wash the fabric using the same method you'll use to wash the finished item.
Be super careful with hanging fabric to dry. I did this, and to my dismay, the brand new hangers I used left a mark on the fabric. Hang it by the ends, not the middle, then if it does leave a mark, it's easy to cut around it.
