- Homesteading
- Make Money Homesteading
- Vermicomposting
Vermicomposting
Let your worms do the heavy lifting
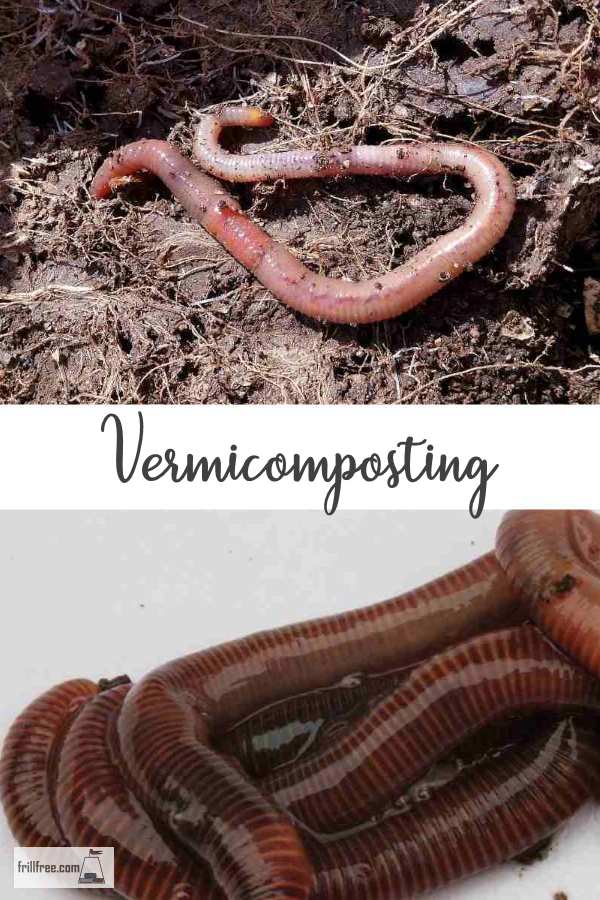
Vermicomposting, a fancy way of saying worm farming, is the process of producing excellent quality compost using worms. Eisinia feotida is the redworm, also known as brandlings, or bloodworms.
These are the kind to use for any kind of composting where it produces heat, such as when using horse manure, chicken manure or composting fall leaves into leaf mold.
The compost worm requires a particular environment to survive - it needs a lot of organic matter and warmth.
There are also dew worms or Eisinia hortensis, which live deep in the soil, and generally can’t take the heat from the decomposition of organic matter, so they aren’t suitable for vermicomposting.
These are fine for your garden, fishing bait or live feed for your chickens but won’t adapt to compost piles or worm farms. If you're raising this kind of worm, it's known as vermiculture.
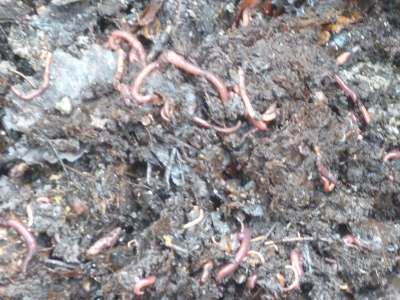 Redworms, Brandlings or Red Wigglers
Urban farmers growing huge quantities of fresh organic produce for their own kitchens as well as excess for sale use vermicompost to provide all the nutrients their hungry crops on their rooftops can use.
You can order redworms from mail order suppliers, or anywhere that sells bait for fishing.
You may also find them right in your own garden if you’ve been adding compost or manure to your soil.
Collect them carefully, as they sometimes try and escape and will break in half.
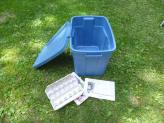
I use a large plastic container with a lid for my worm farm, sometimes known as a wormery.
Some vermicomposting gurus say that you should drill several holes in the bottom of it to drain the fluids out, but I usually just make sure that if fluid does build up, I add some dryer shredded newspaper.
If you catch the liquid, this needs to be diluted before watering your plants with it, because it will be really strong.
The best place to keep your worm farm is somewhere that doesn’t freeze; a back room, root cellar or basement will be perfect.
The temperature must stay above freezing in the winter, and cool enough in the summer so the worms don't cook.
How to Build your Worm Farm
- Shred newspaper, cardboard egg
cartons and soak for a few minutes to completely wet them, then wring them out
to barely damp.
- Place these in the bottom of your
container.
- Add rotted horse manure, shredded
leaves, a small amount of sawdust.
- Coffee grounds, tea leaves and
other small particle material can be added on a daily to weekly basis.
- Add some gritty or sandy soil, as
worms need this to ‘chew’ their food.
- Worms are dependent on the
activities of micorrhizae
and the many other tiny creatures in organic matter. Adding some aged compost to your bin will
ensure that micro fauna will be present in the bin.
- Worms also like eggshells, dried
and crushed, or oyster shell to alter the pH.
- You will need worms too.
See a picture tutorial for building a worm farm here.
Sometimes the drumming of rain on the lid of your bin will cause a mass exodus, leading to death of the worms when the sun comes out.
If you find your worms trying to escape, put a layer of grass clippings or a piece of dampened burlap on the top of the compost.
I make my wintering bin in late September or October so I have unfrozen soil to collect my vermicomposting herd, but if you’re buying worms you can make up your bin anytime, as long as the worm supplier will ship.
Add the earthworms, put the lid on, and place on ignore for a week or a month, adding your coffee grounds occasionally.
Most of the worms will burrow down into the bottom layers, quietly working and worming away.
Generally, within a few weeks you will see that the activity, although slow, is methodically breaking down and mixing the items together.
After a few months, or well into spring, you should be able to take your worms out, separating them from the compost.
To do this you need a piece of plastic on a flat surface. Dump out all the worms and their bedding into a heap in the middle of the plastic.
After a few minutes, especially under bright light, the worms will all burrow down into the center of the pile, at which time you can scoop off the finished compost and return the worms that are left huddled in a clump to their bin.
If you look carefully at the compost after it’s been broken down by the worms, you may see the tiny golden lemon shaped cocoons. Each of these will each hatch out several tiny baby worms.
Make sure you put some of these back into your bin to increase the population.
Start over with fresh newspaper, sawdust and so on, and the worms will happily adapt. You may have enough new worms to start a second bin, and even some to take fishing.
If you have too many, put the excess onto
your outside compost pile to continue their work there.
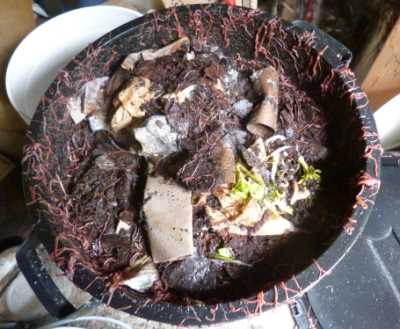 Escaping worms, an indication that something's wrong
If your worms suddenly start doing this, there's something wrong.
Most likely, it's either too hot or too cold, or the pH is all wrong - mostly too acidic.
A sprinkling of Dolomite lime, and the addition of more shredded paper and crushed eggshells might help stop the exodus.
If you're in the position of getting a large scale vermicomposting operation going, this is the way to do it.
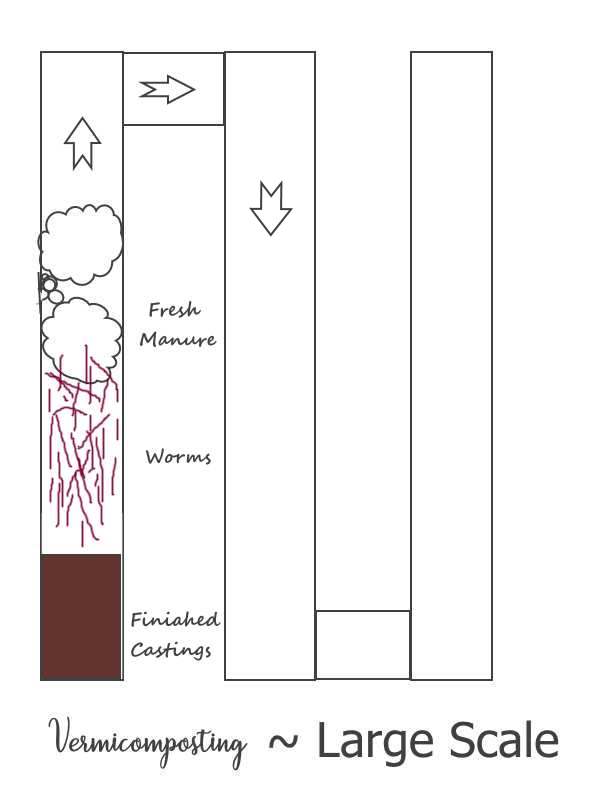 Large Scale Vermicomposting
You'll need access to a lot of material to compost, such as horse manure and straw bedding or other animal waste.
The 'bin' is a long upraised wooden structure, and you start by putting the waste in one end with the worms. As the waste decomposes and gets used by the worms, they move along the bin, into fresh waste.
Eventually, they get to the other end, and it's time to empty the bin, bagging the worm castings, then filling up the bin again with fresh waste. Then the whole process starts again.
The result is threefold; worm castings to sell as fertilizer, worms to sell as bait for fishing afficianados, and worms to sell to other gardeners.
